23/03/2020 Coronavirus halts progress until it’s over.
14/07/2020 Now that things have stabilised into the New Normal hopefully can get back into this Truck. To do list:- 1.Finish spraying the inside of the Cab. 2 Fit most of the electrics and Gauges to the Dashboard. 3 Replace the Cab to the Frame

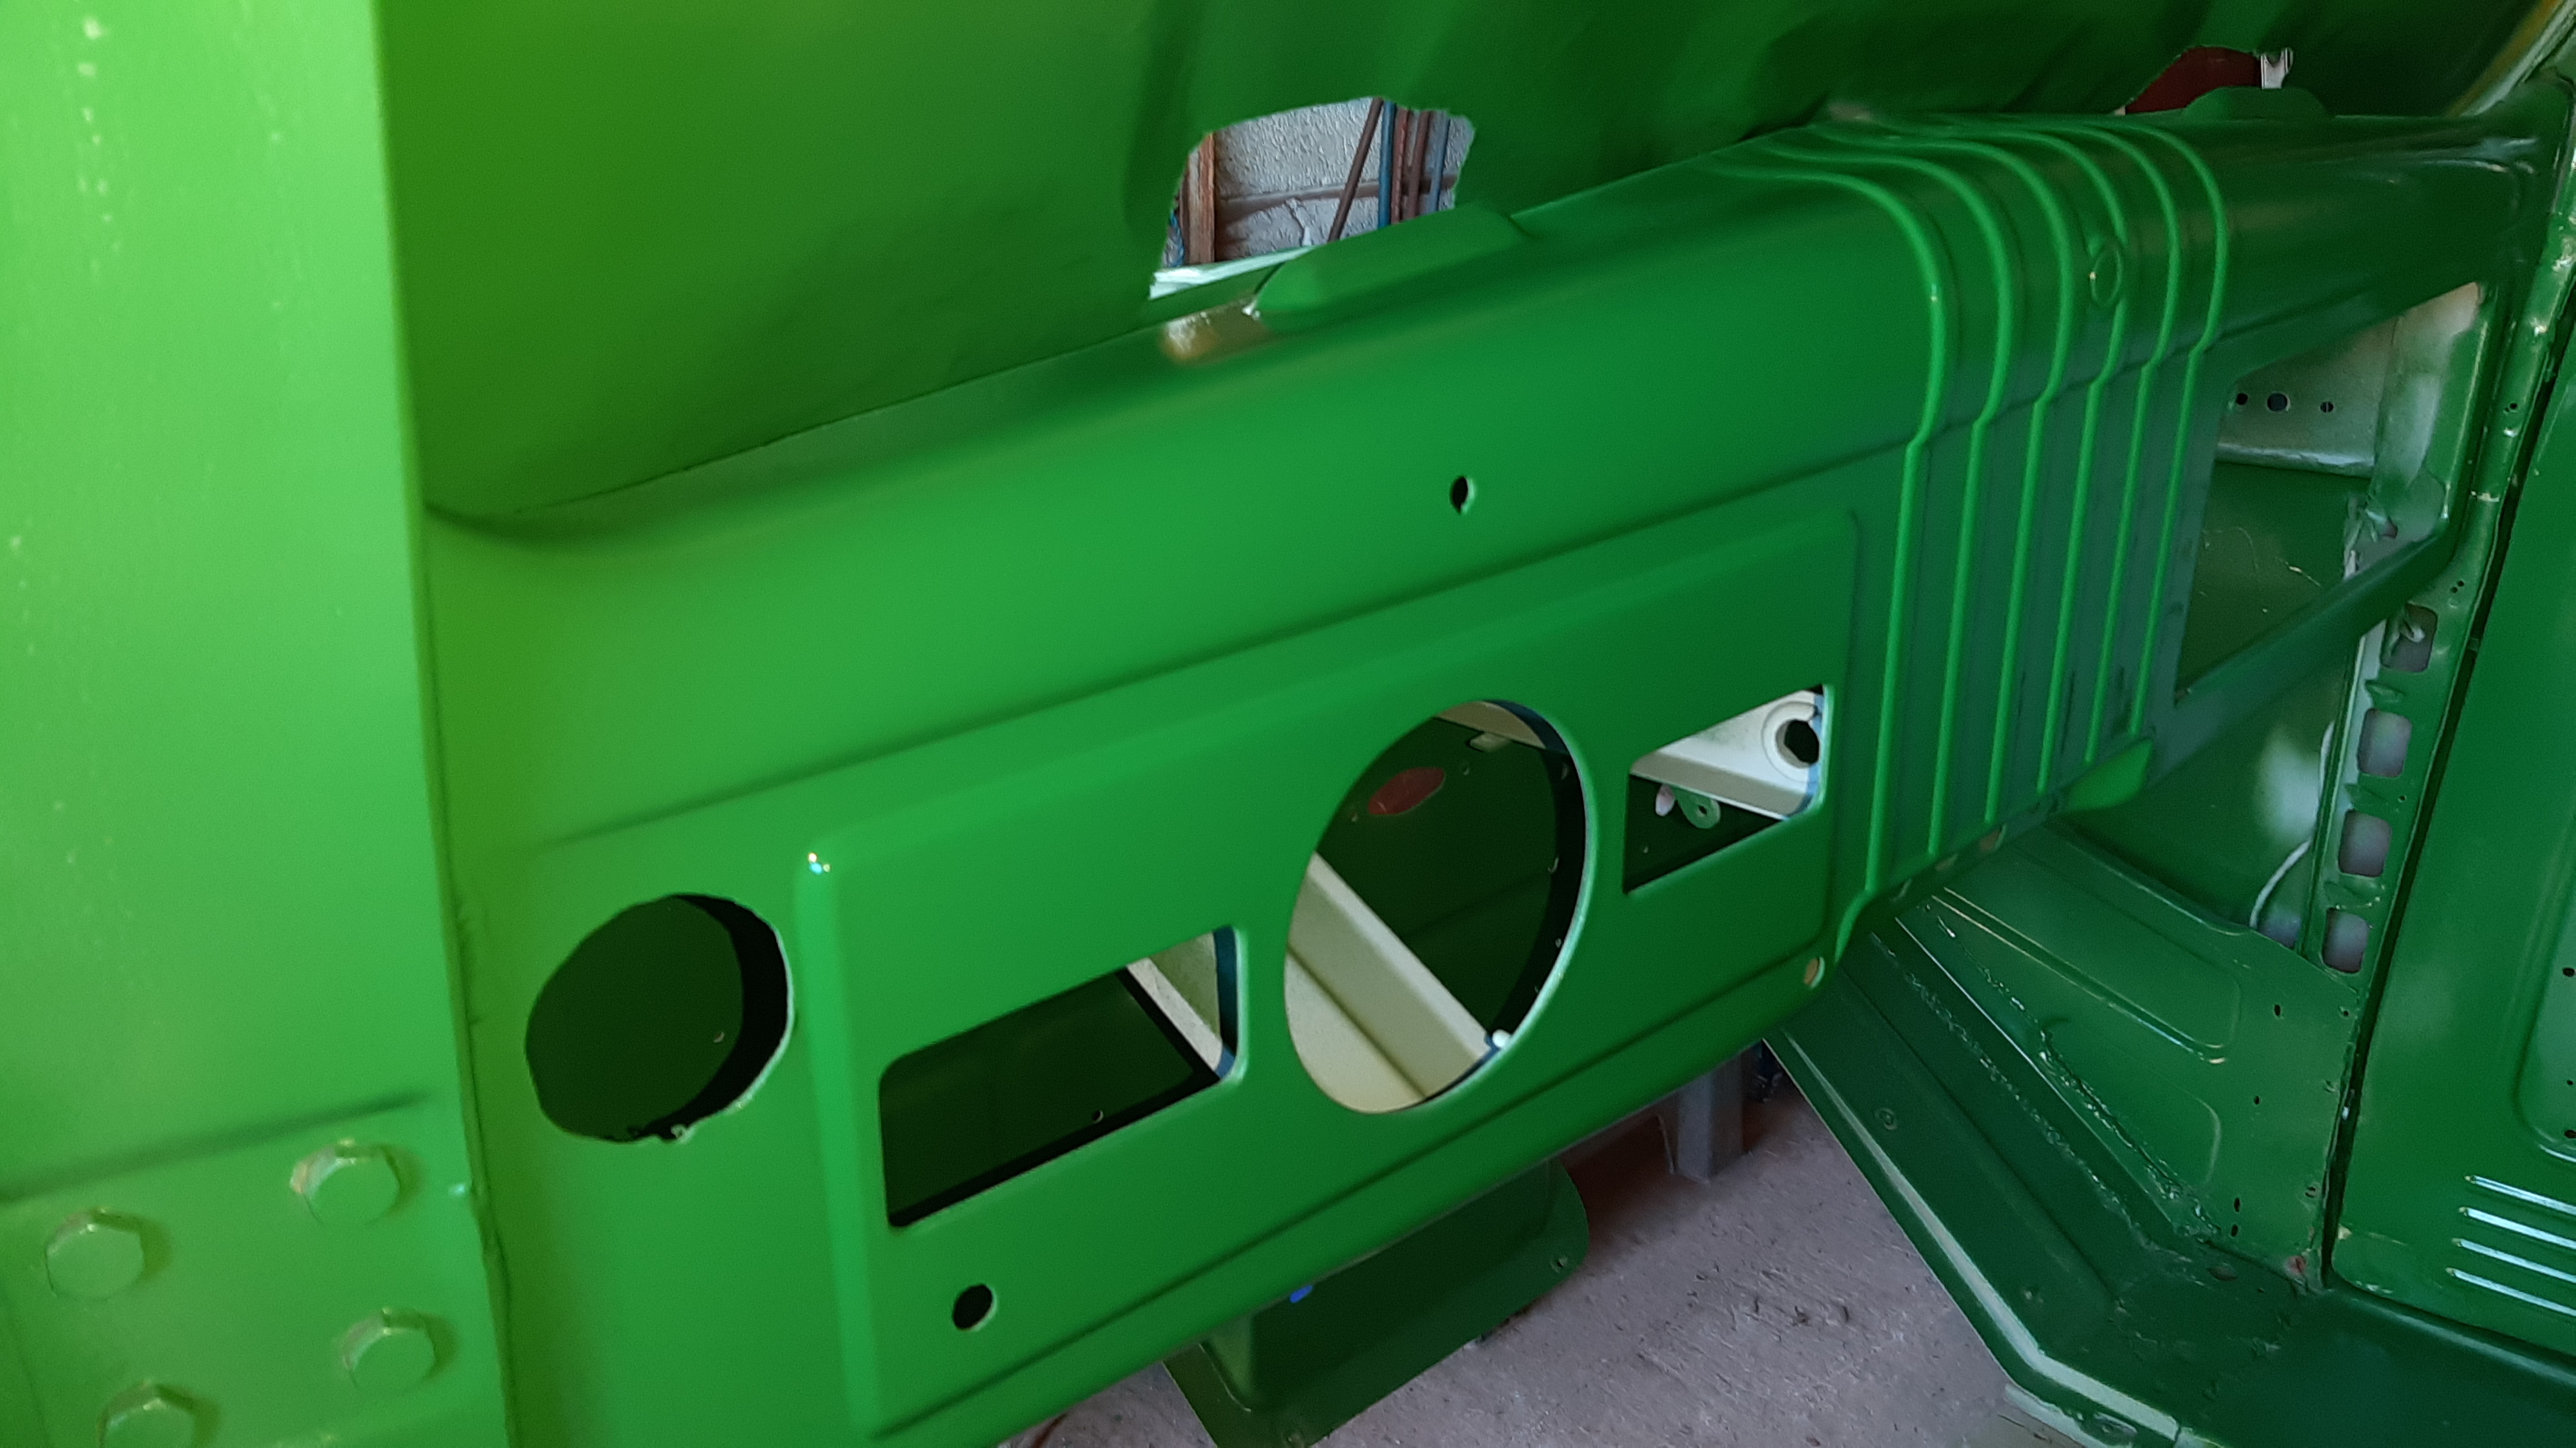
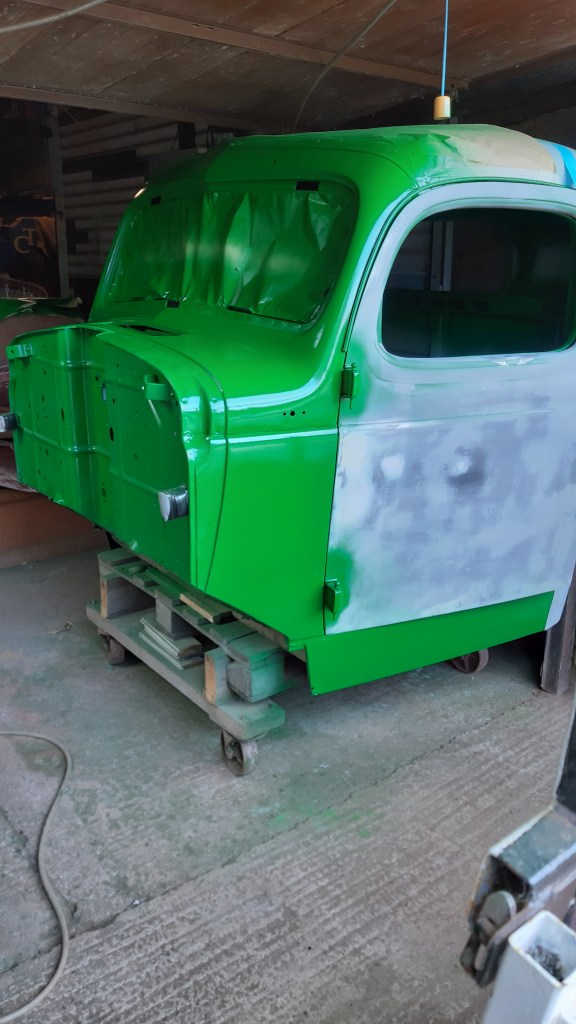
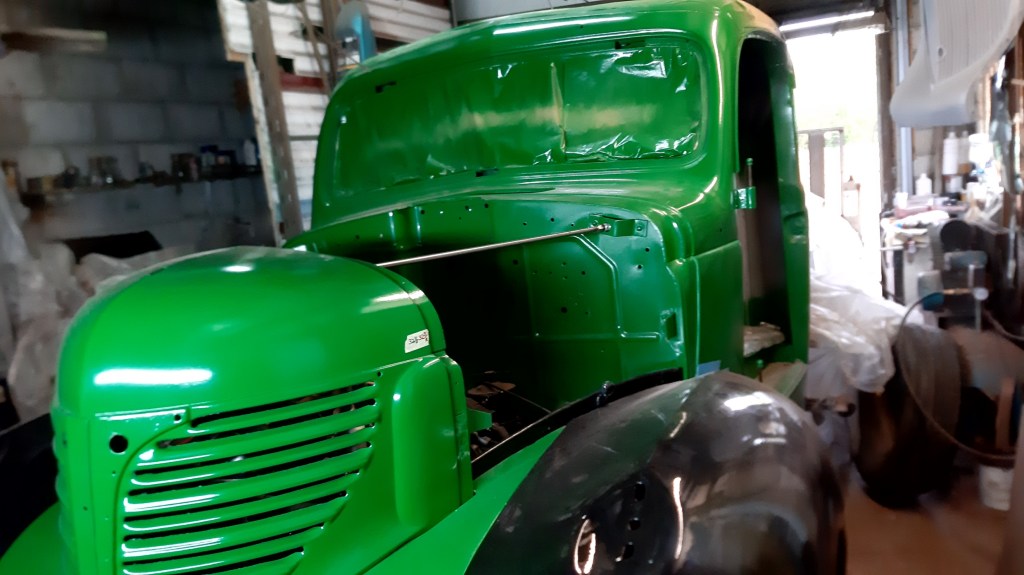
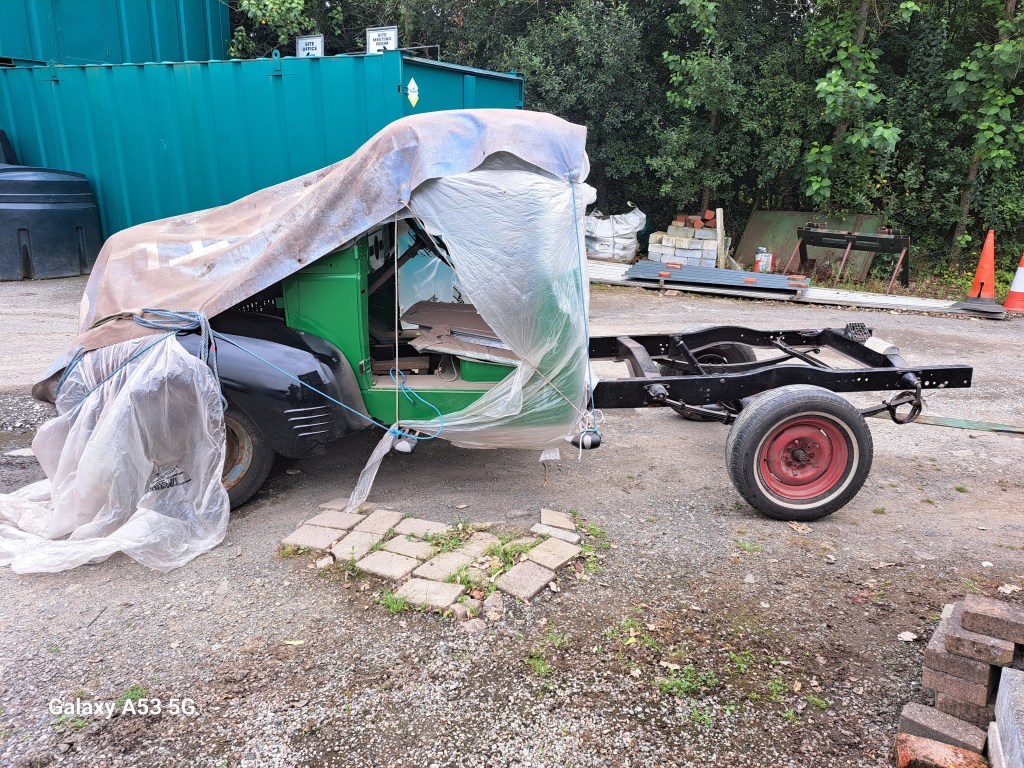
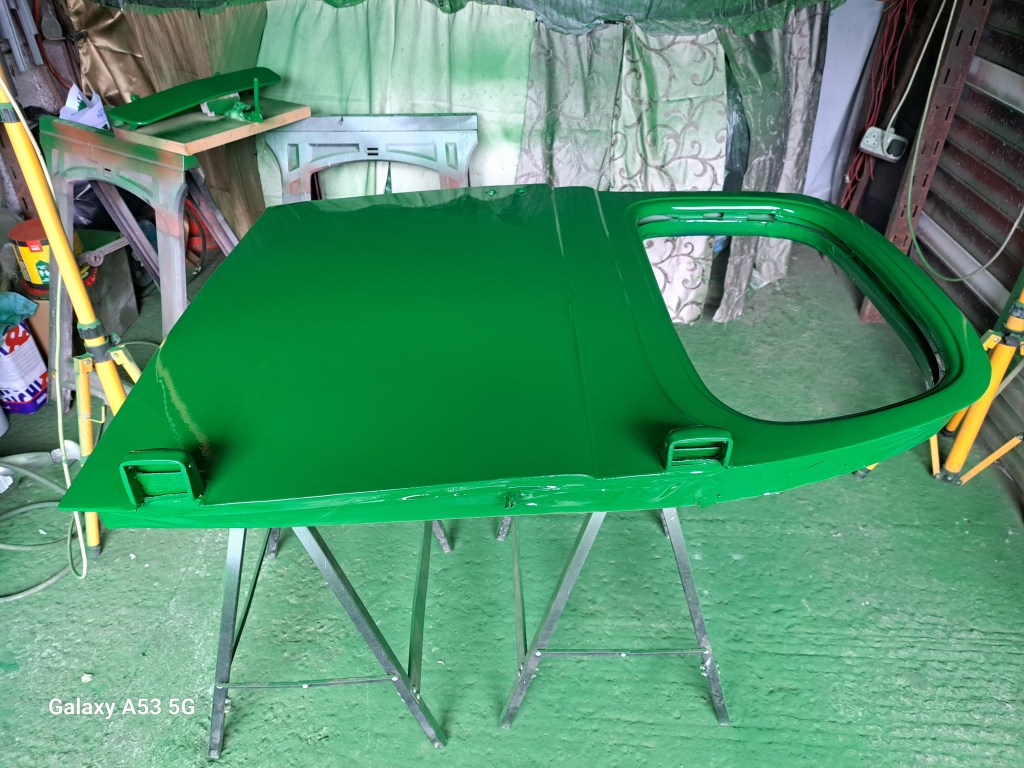
20/07/2020 Stated work again with the Cab, the outside is now ready for paint all the imperfections have been eliminated, so tomorrow the inside needs some fine prep. before the masking process can start.
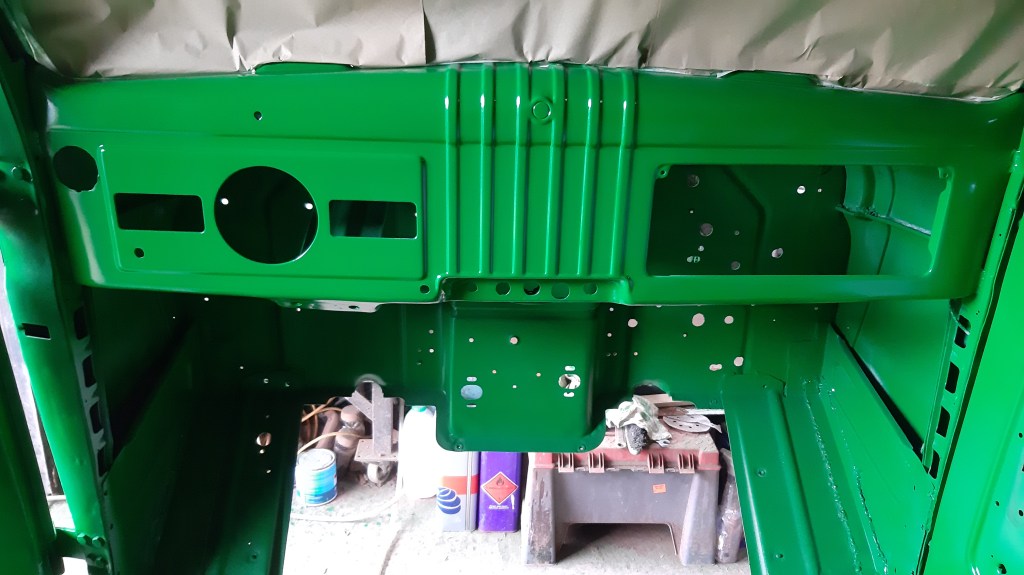
21/07/2020 Colour to the inside.

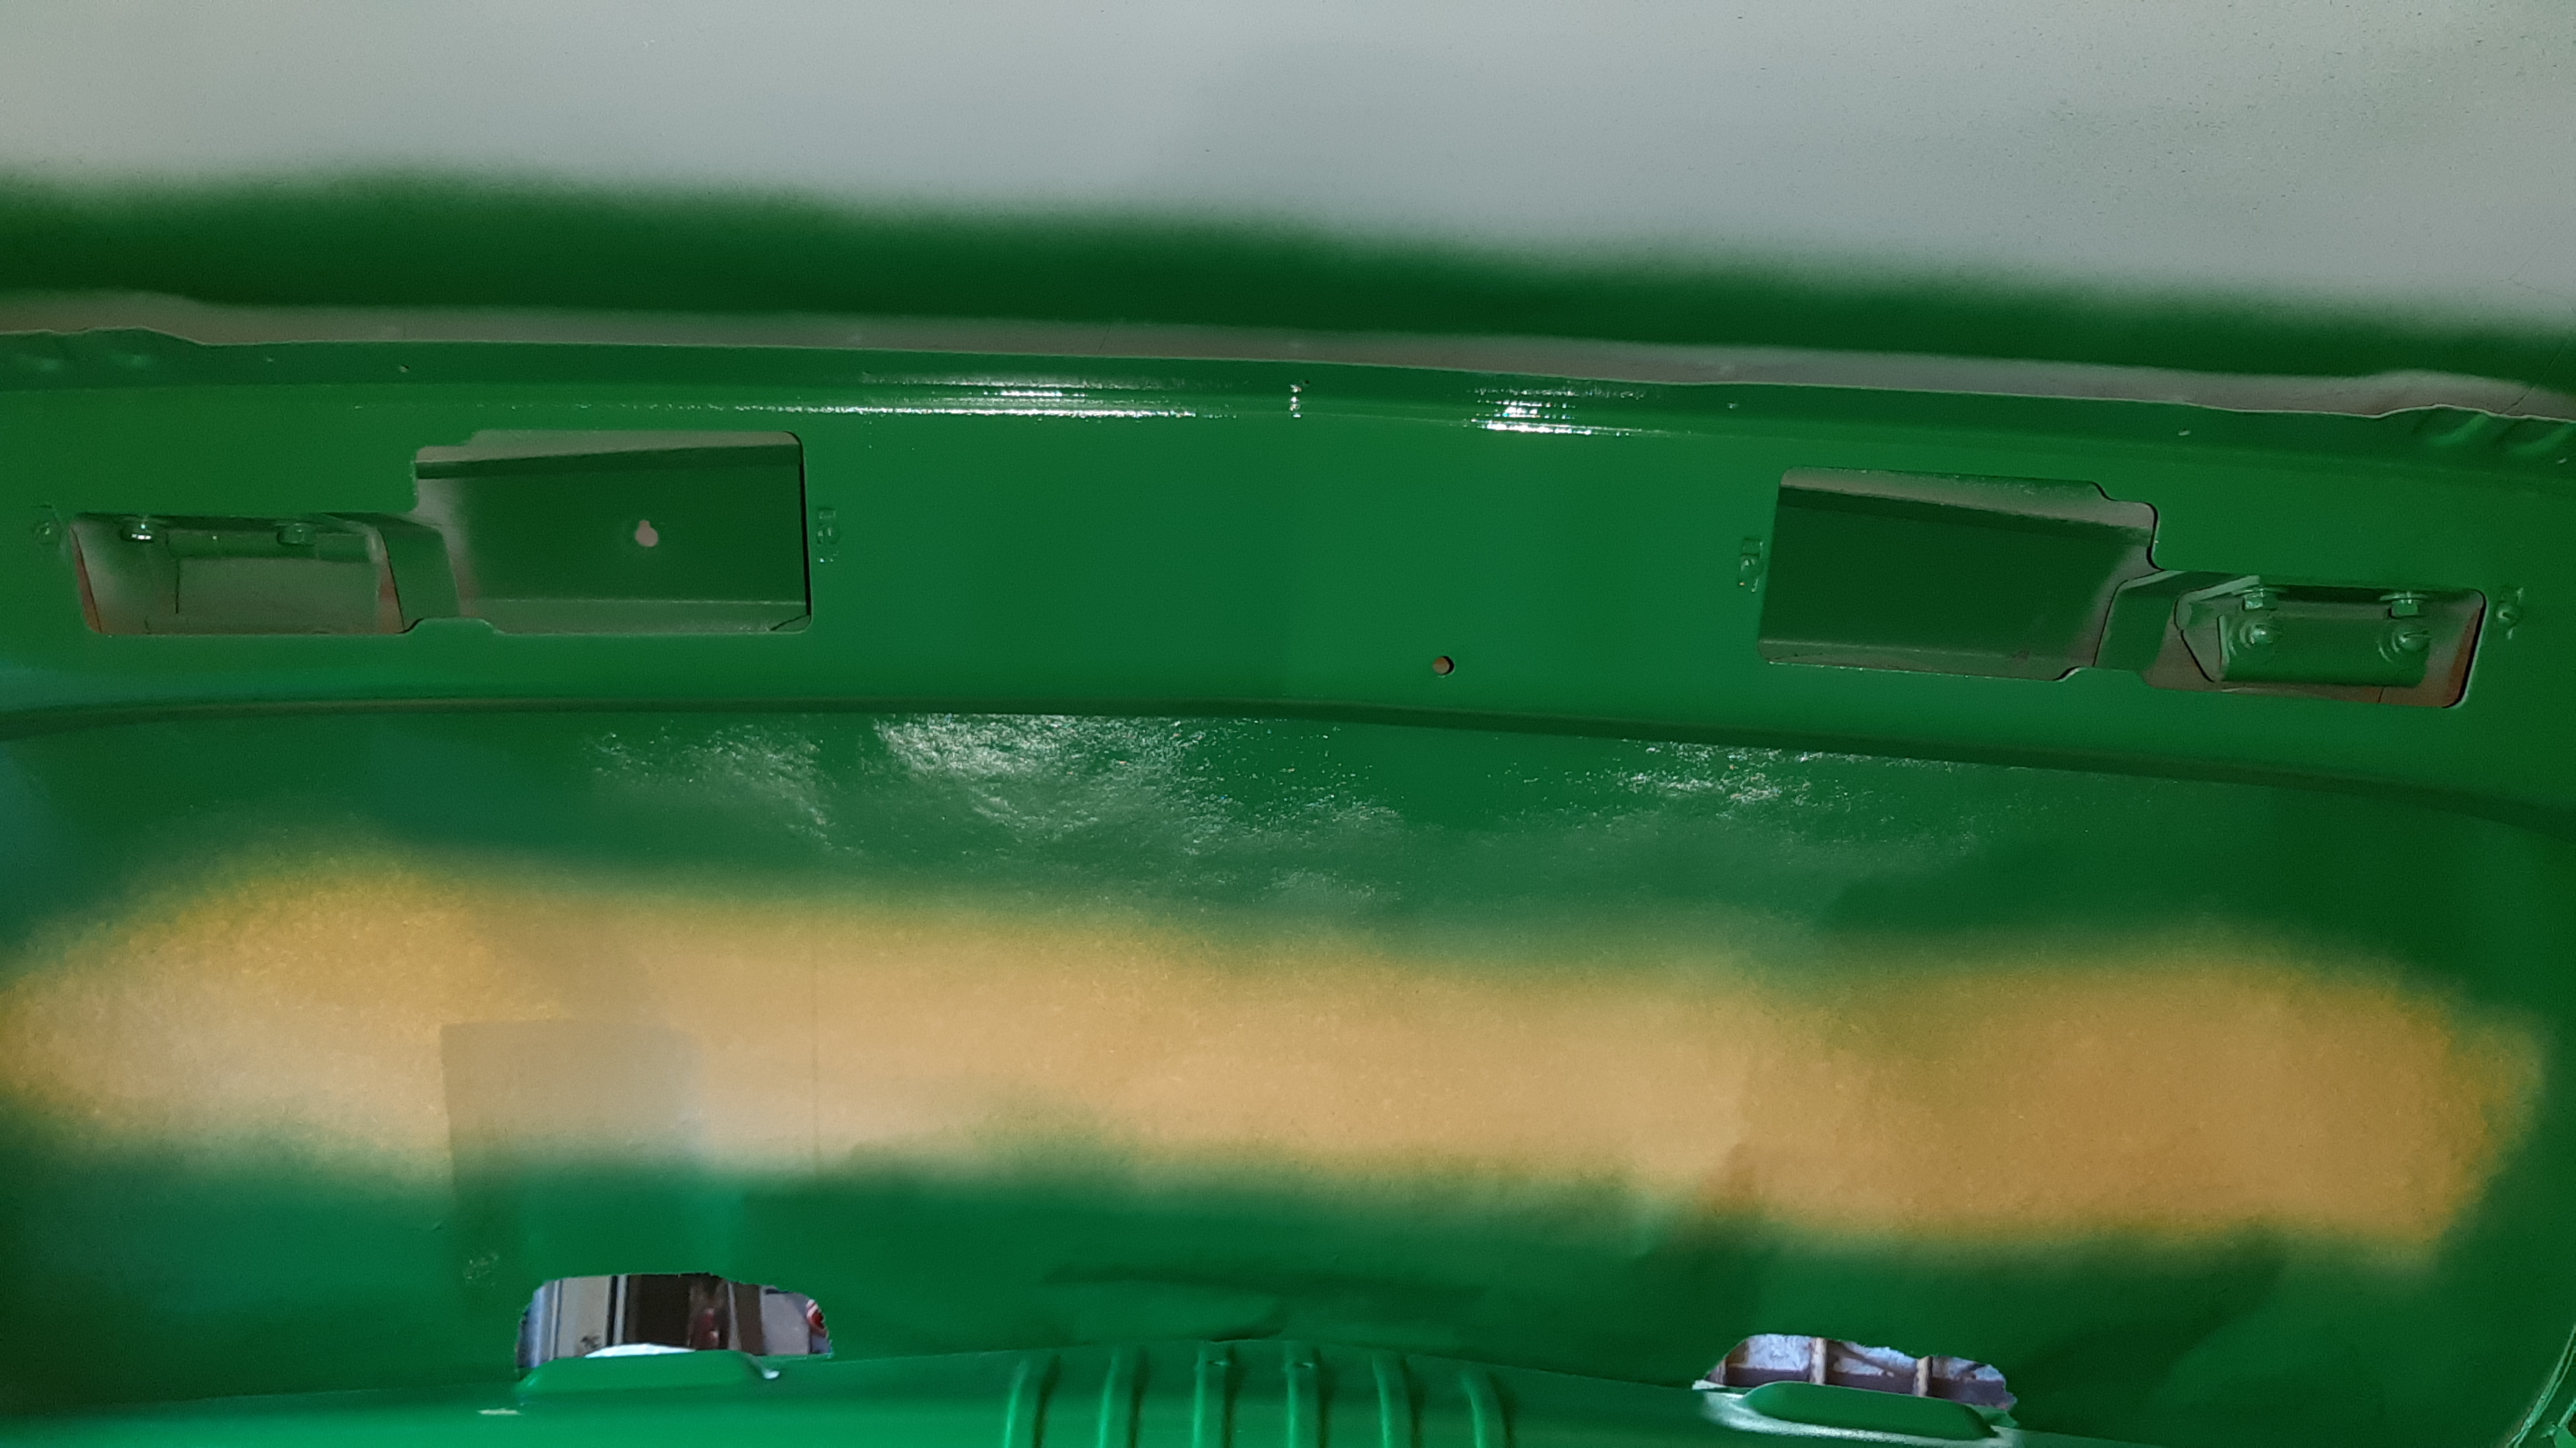

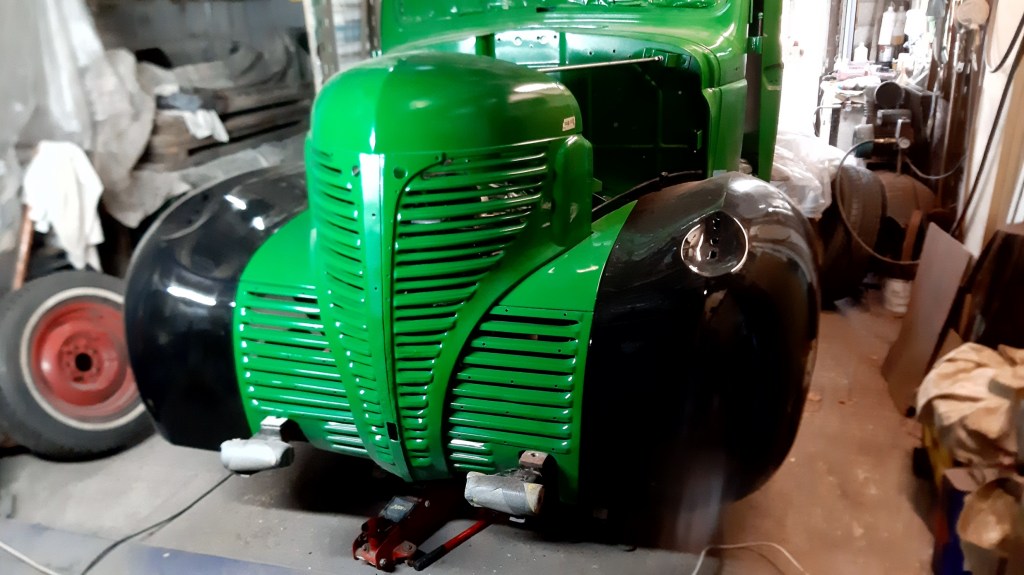
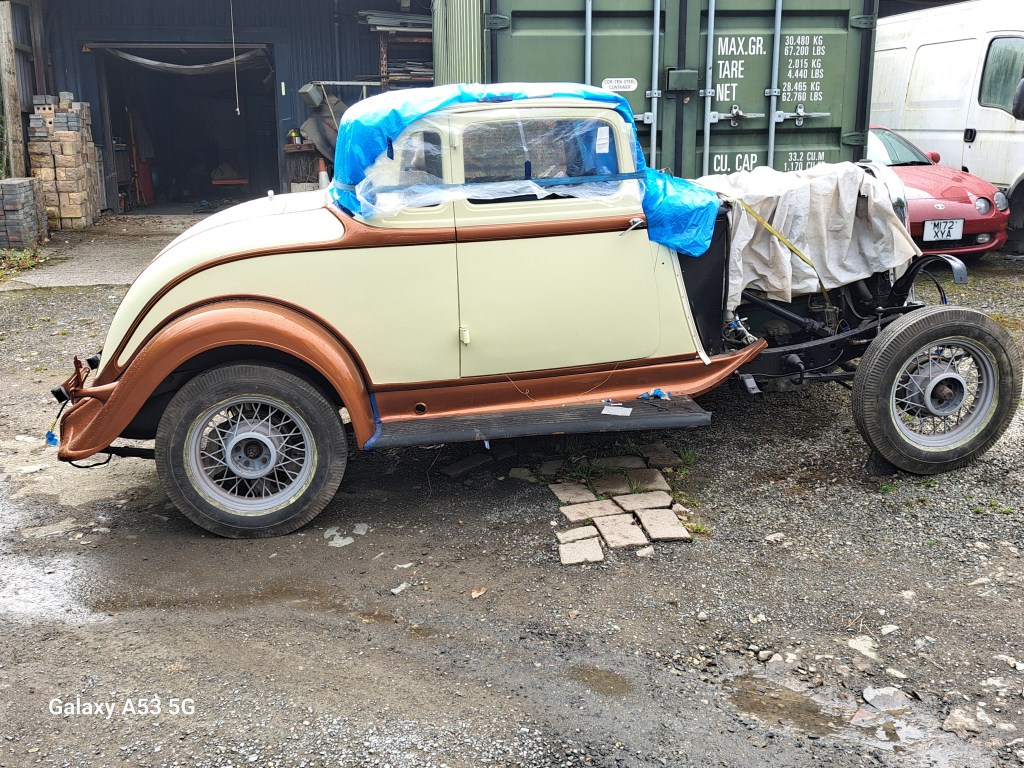
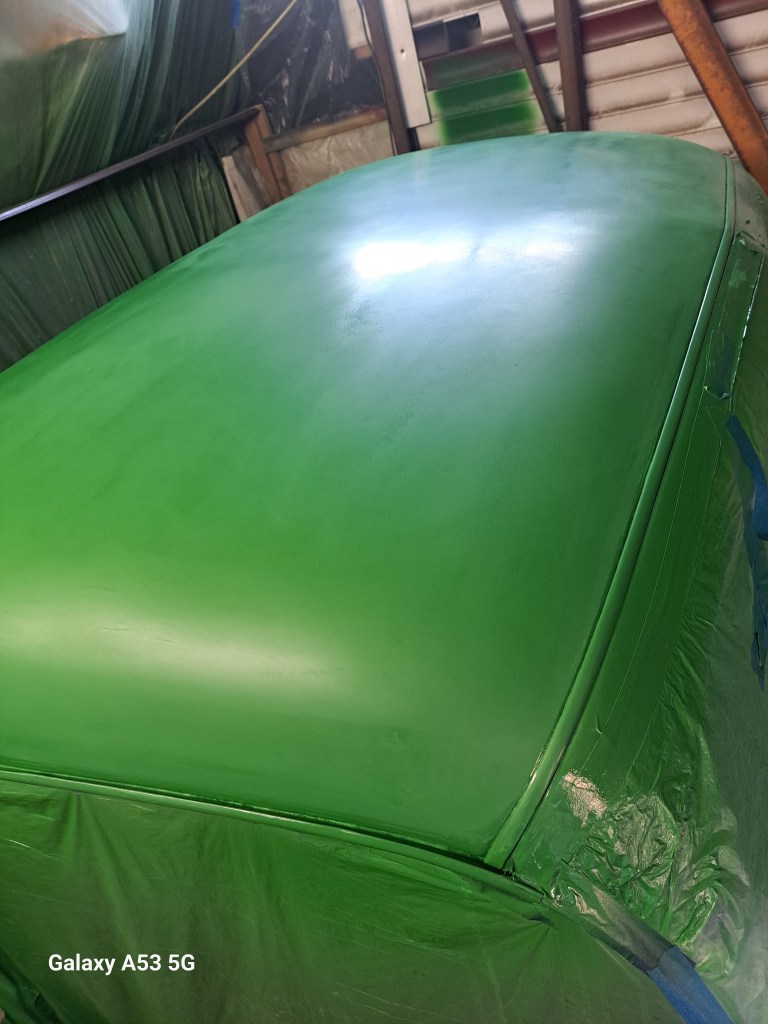
The Cab is now ready to go back on the frame, requires more paint but nothing that can’t be done later. The green has now had 3 coats rubbing down with P400 & P1000 wet and dry. Some areas will get P2000 before using a polishing mop with Canuba cutting compound.


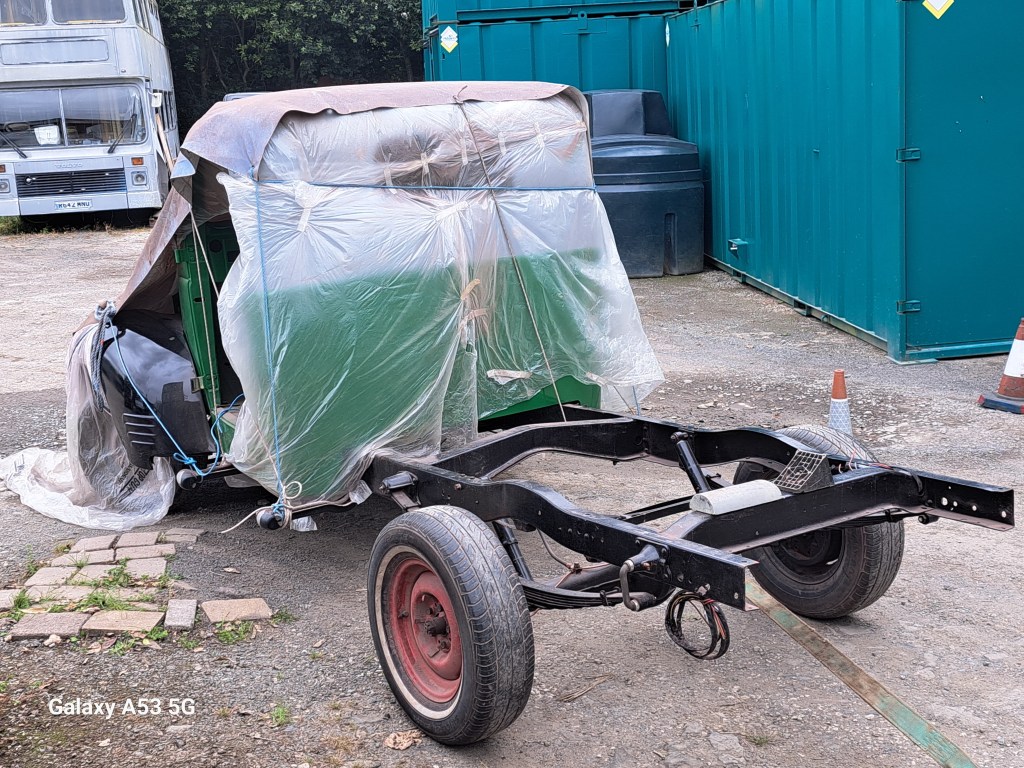
Giant step forward this week, not only does this rebuild leep forward it also gives me an extra 36 sq ft of floor space. Feeling very please to have had assistance from my 15 yr old grandson working with me, thanks Callum.
07/08/2020 Fitting the pedals onto the pedal shaft, normally this would be done prior to putting the Cab on. Had my doubts that it would be possible but although slightly difficult to fit the woodruff key on the shaft before the clutch adjusting yoke. The yoke controls the position the clutch pedal operates, the adjustment will be done once the seat and the floorboards are in the cab.
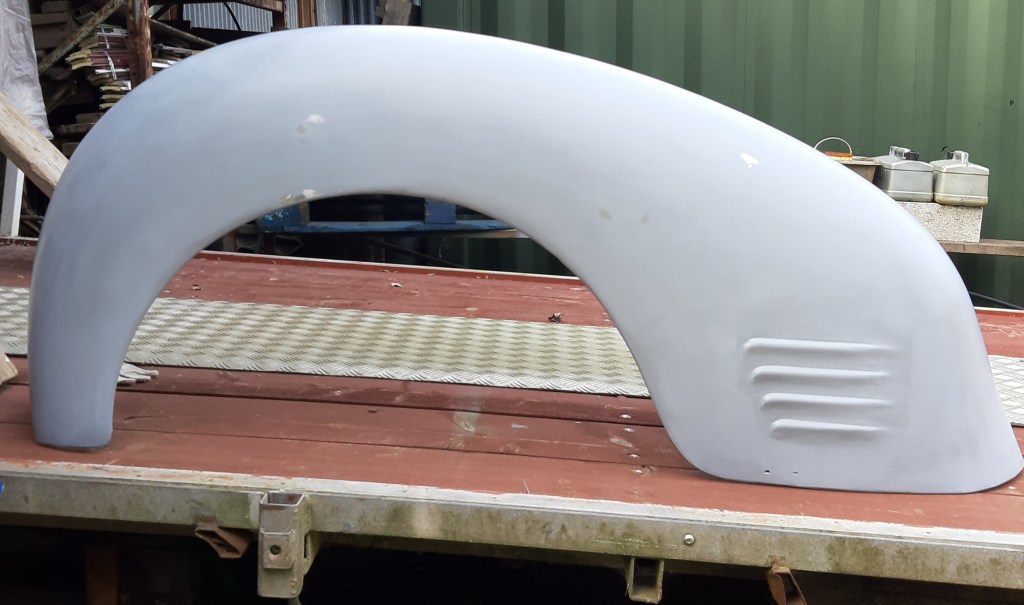
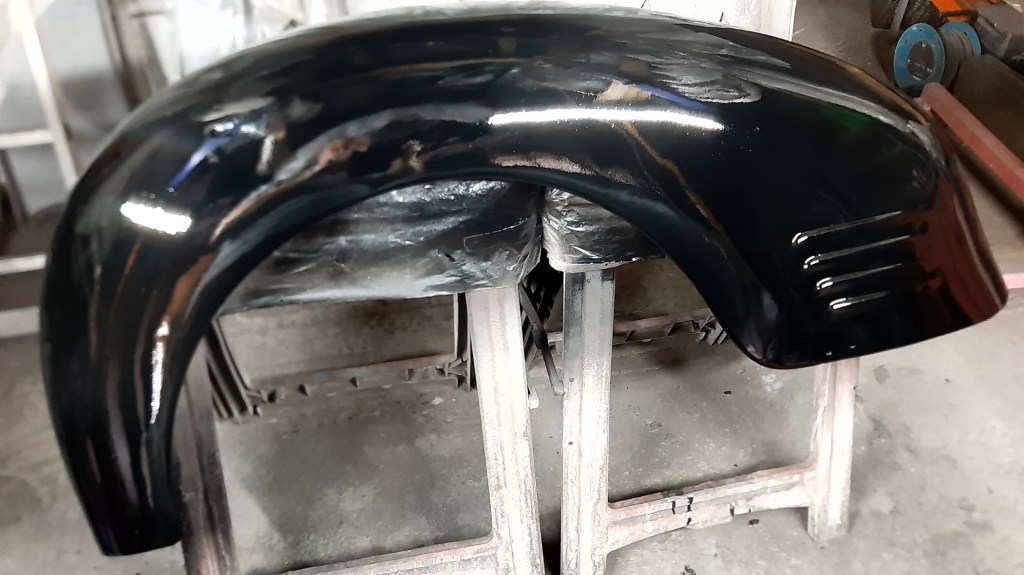
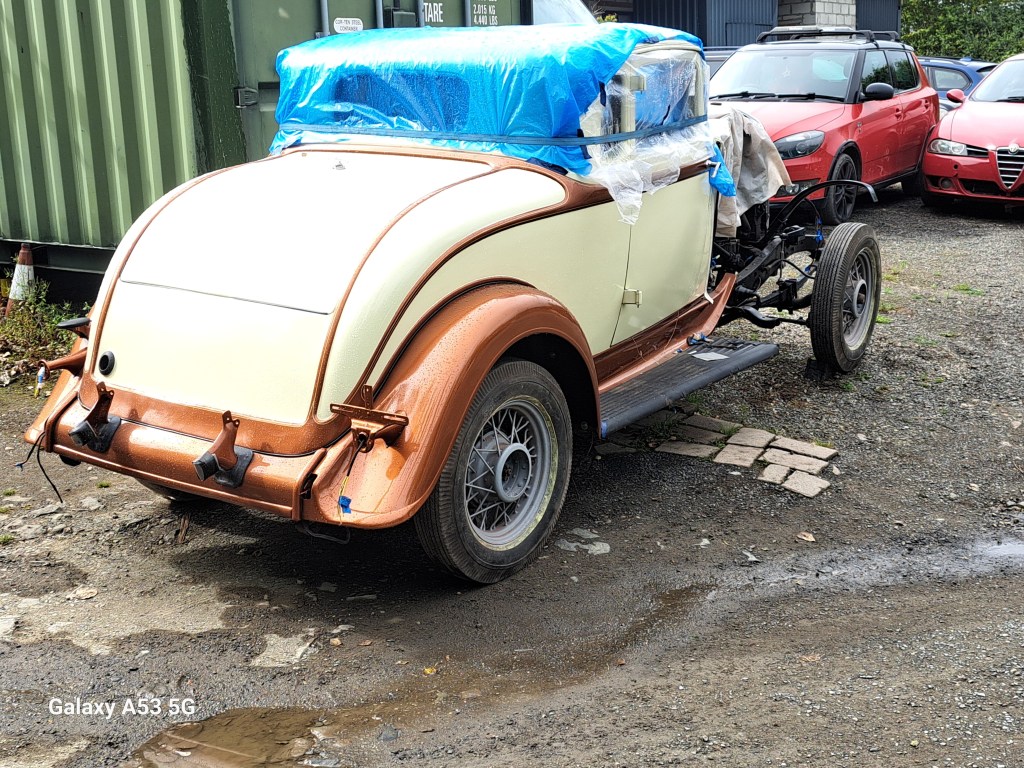
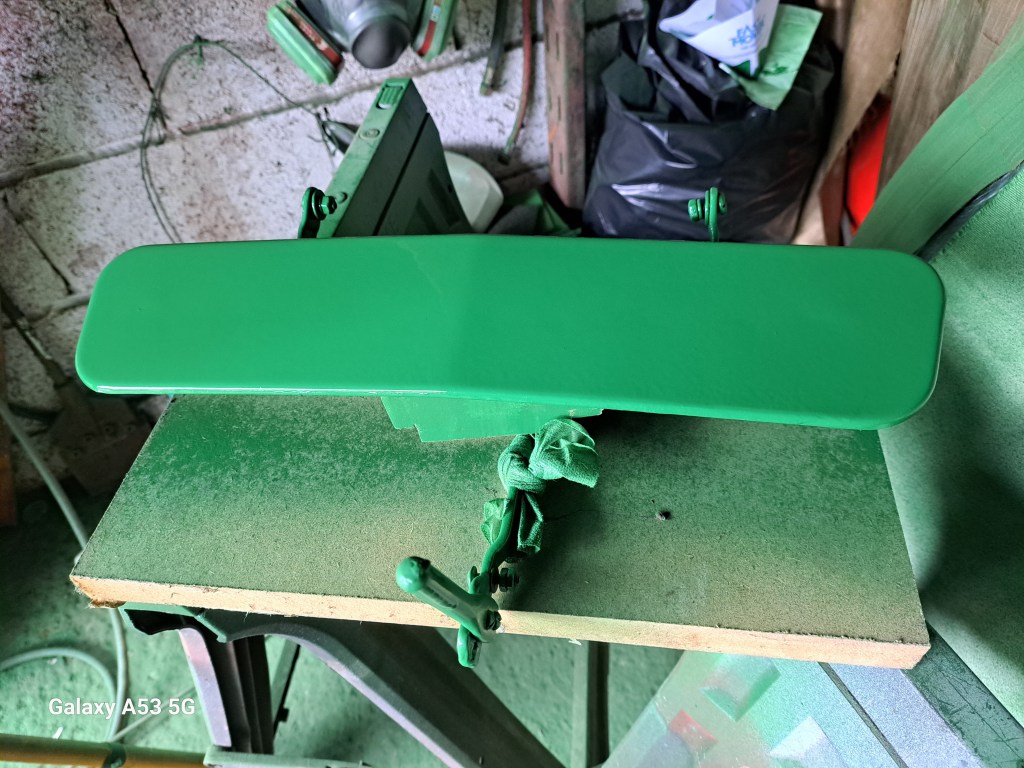
10/08/2020 First touch of black paint went on the r/h front Fender. Not the best photo but I am very pleased with the result. Second photo is the drivers side well under way 11/09/2020. Next 2 photos are the rear fenders at different stages of prep. 16/09/2020


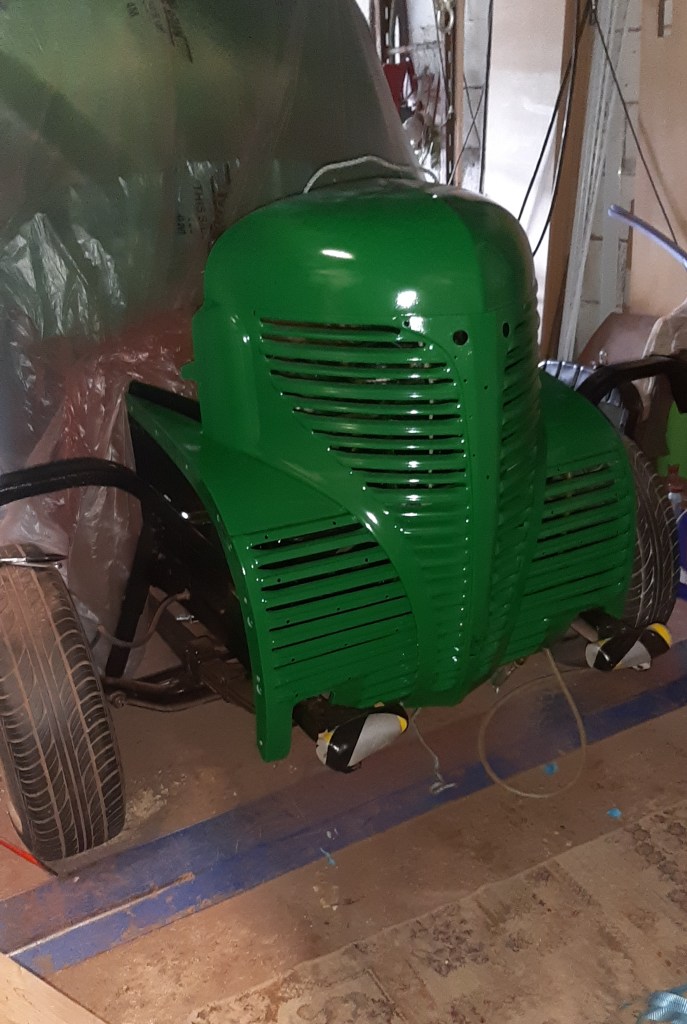
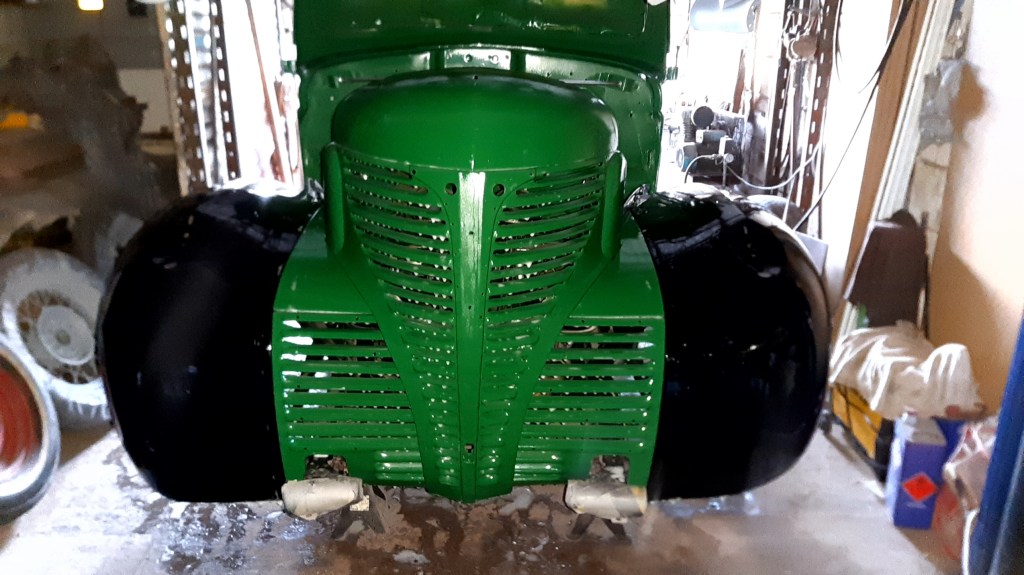
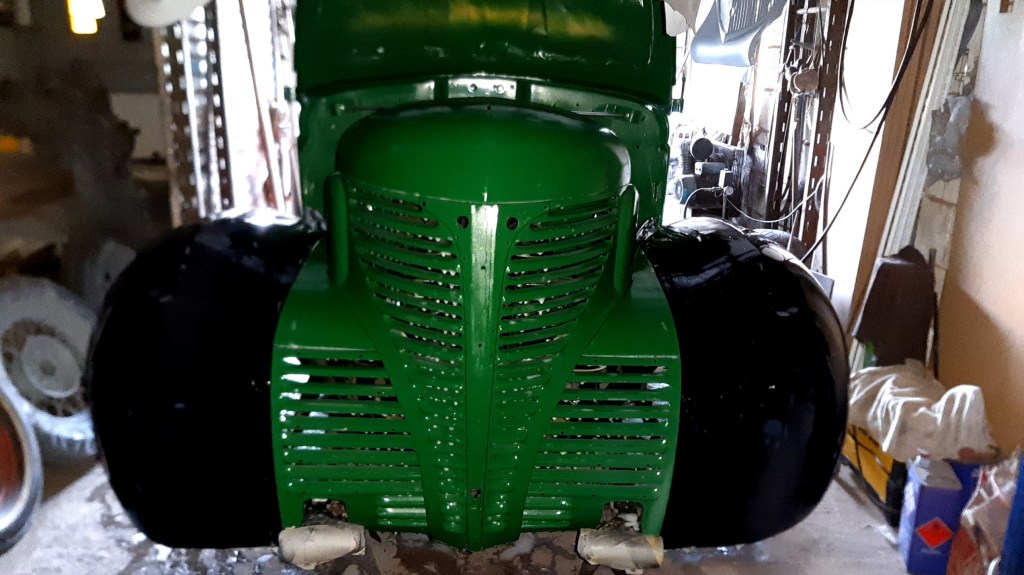
24/08/2020 Last week sprayed the Rad Shell and Lower Grill, so today bolted the 2 pieces together and fitted to the front end, very pleased how this milestone turned out.

As of 04/01/2021 Covid 19 has put the UK back into lockdown, update will return as soon as conditions permit.
30/05/2021 Just a small update on what been happening on this slow journey.
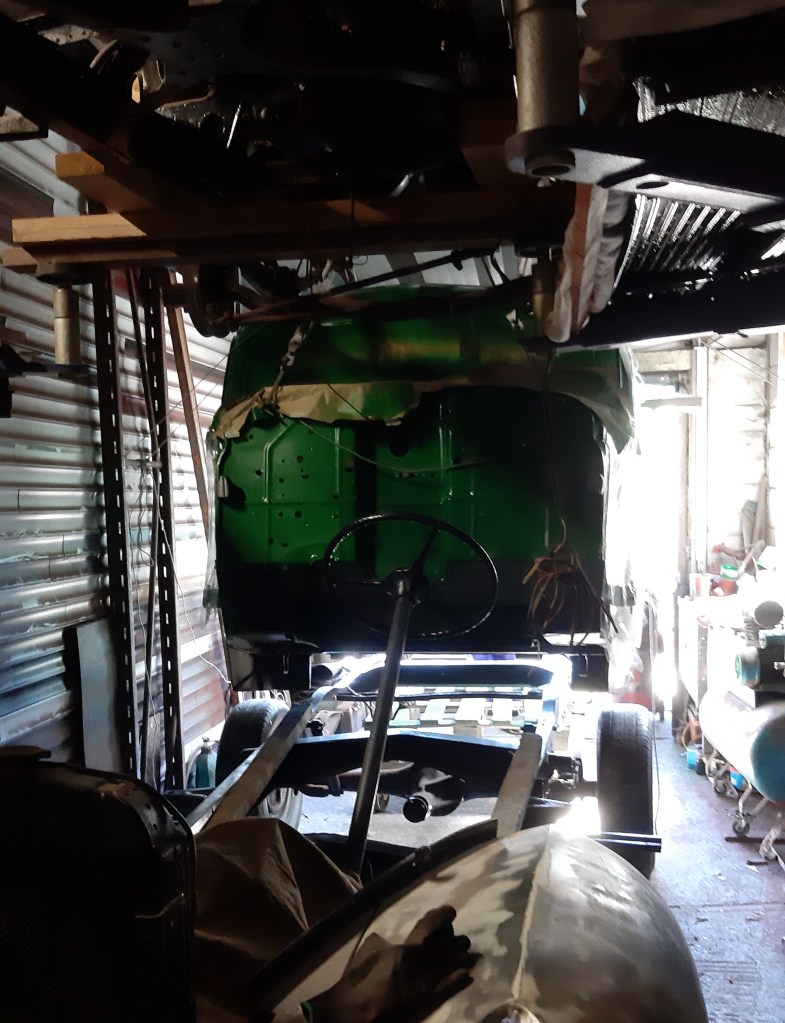
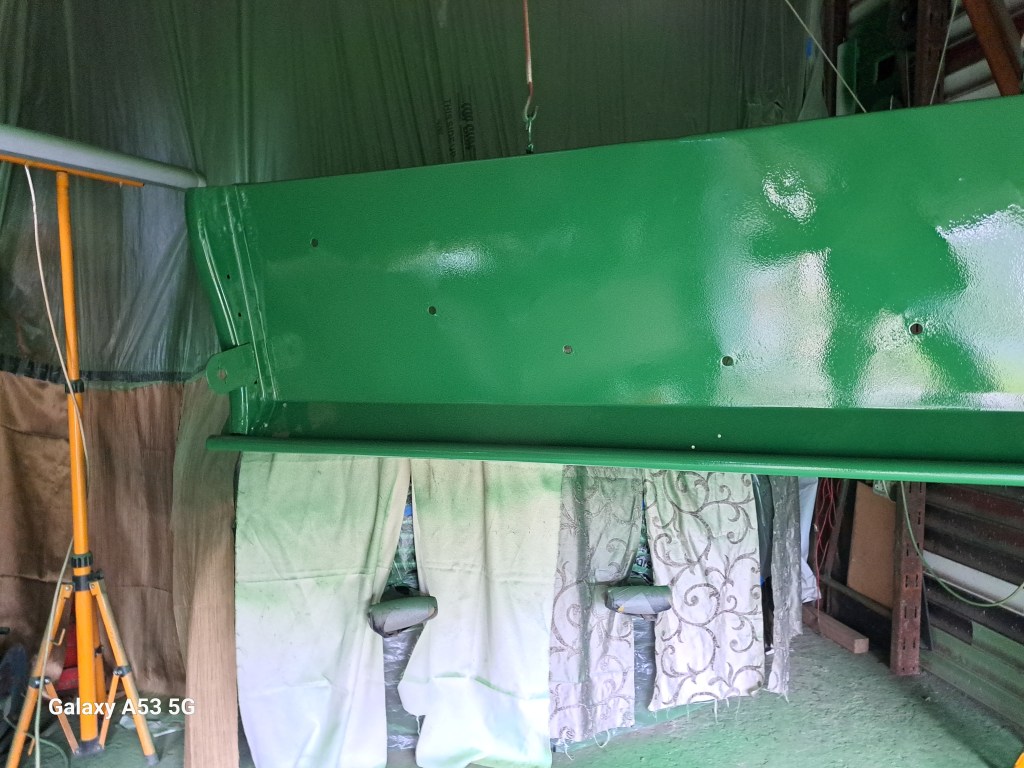
11/10/2024. Been awhile since posting on this one, have moved my workshop around so that I could get the rest of the body in colour. Not an easy job when the entrance to the unit is on a steady slope for about 30 ft and neither of my first 2 builds have brakes or running engines.
Have a problem with the 33 R/S Coupe (which was on the floor). When I rebuilt the trunk pan there must have been an upstand to give clearance for the gas tank. So once the Coupe is on the 2 post I will be able to see what the problem is.

As you can see in the last photo I had to winch both vehicles down the slope, nearly buried the 41 into the nose of the double decker bus, managing to chock one wheel within 3 ft of contact. Old man of 77 had all his dreams flash before him for 30 seconds.
Now have the Coupe on the lift with the truck nose just in the door, curtains are up making a makeshift booth. Prep done and ready to start laying paint, problem the 5 ltrs of paint was the wrong green, apparently in 1986 John Deere change the shade from Classic to Turf/Agri Green and as I had popped the lid the supplier would not take it back. Decided to lay a couple of coats down as a base for the correct colour.
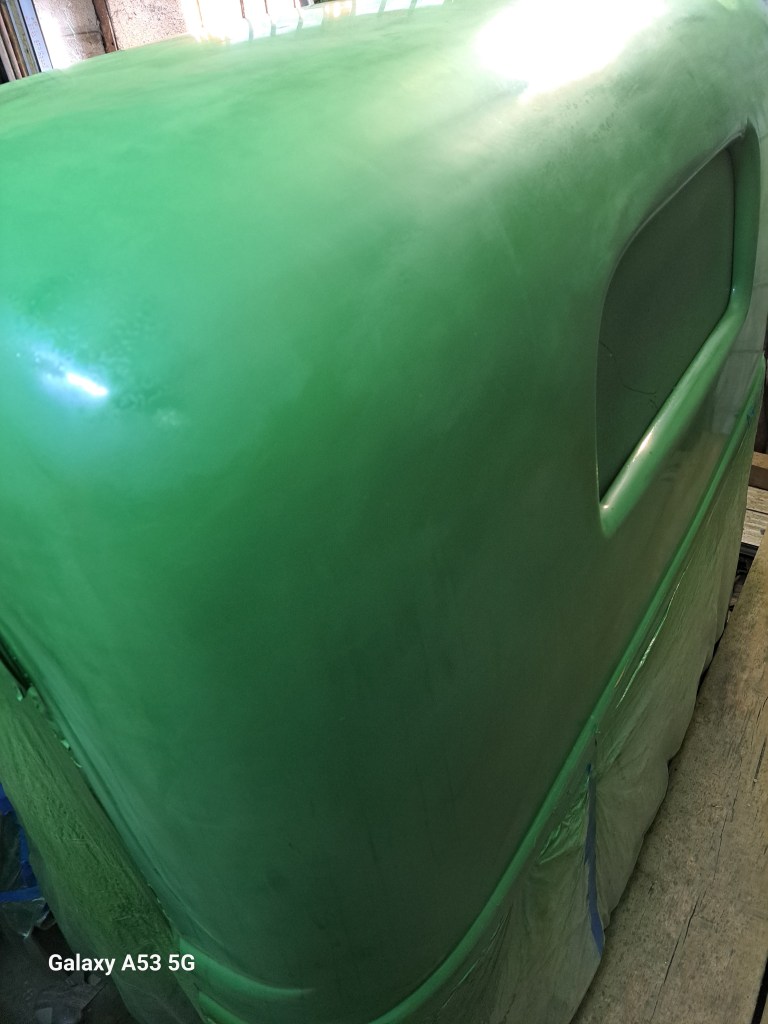

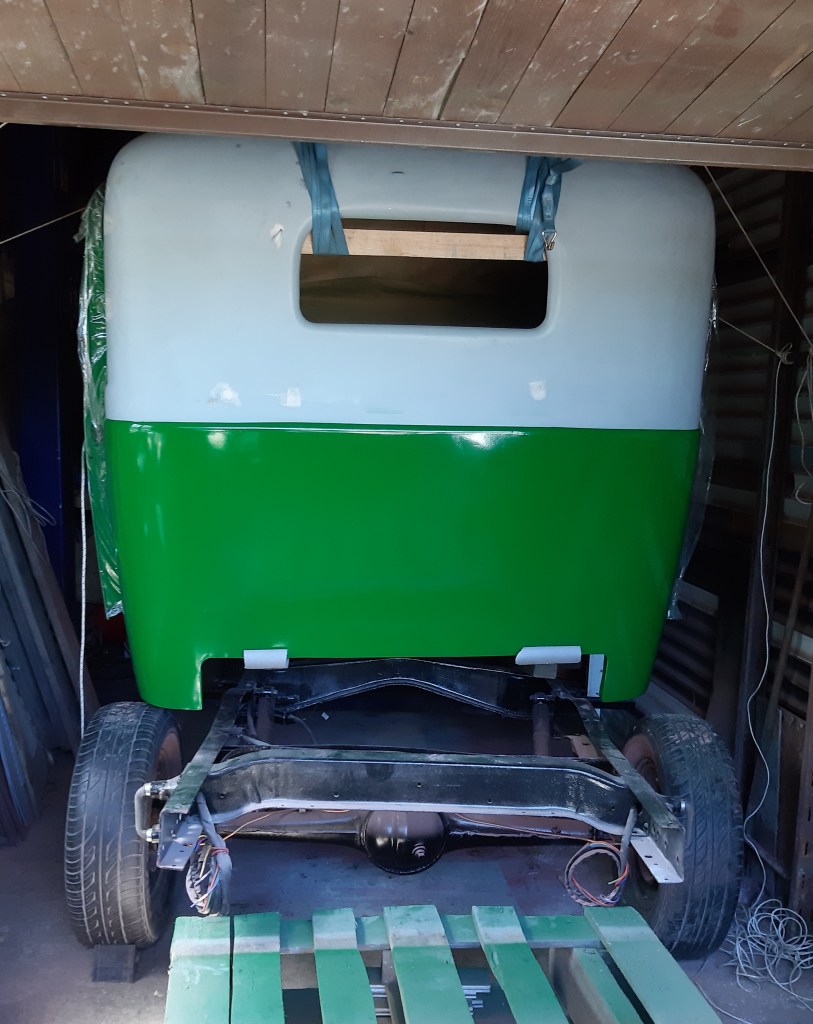
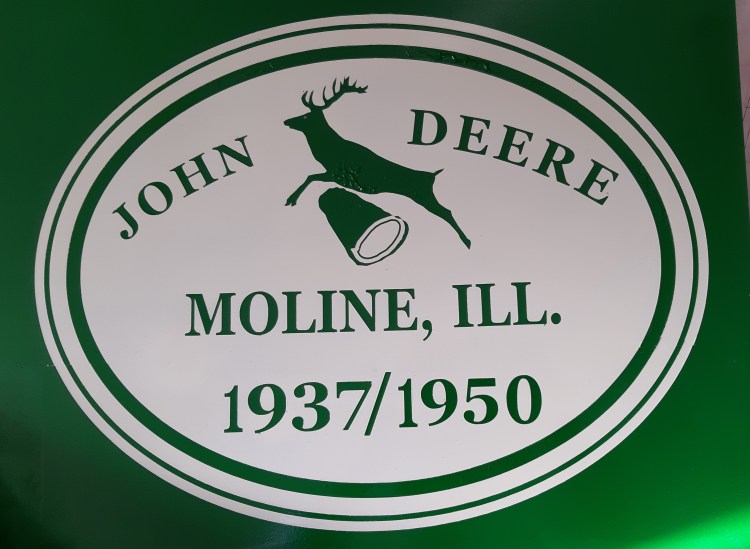
The photo below are with the correct shade for 1941.
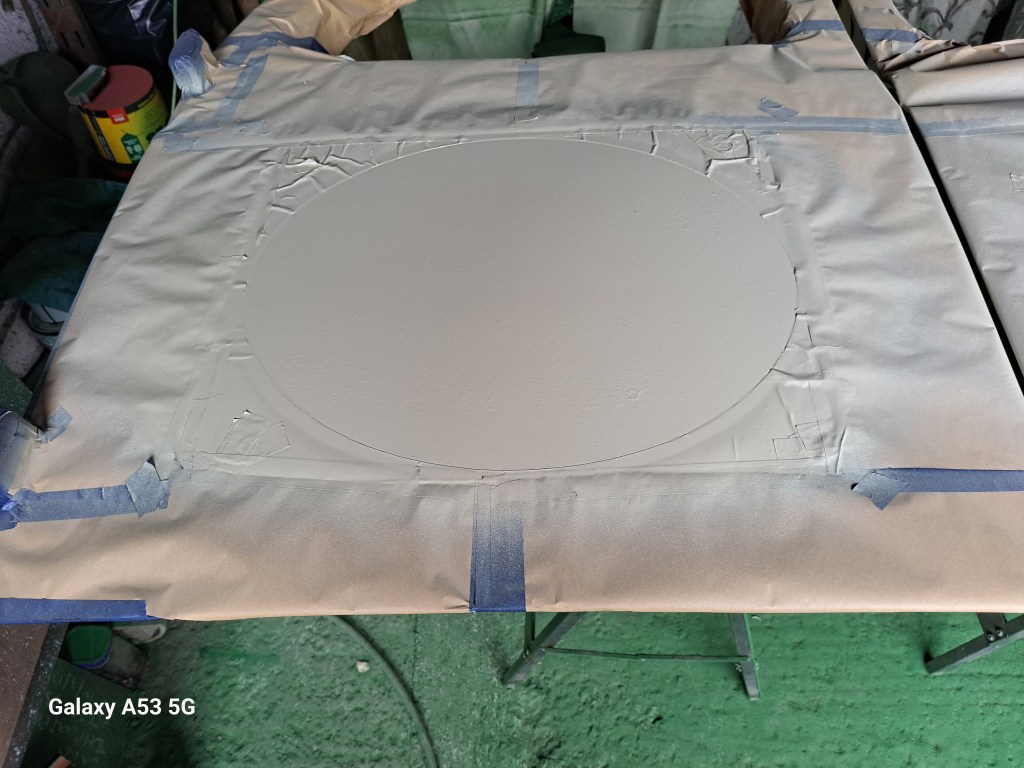
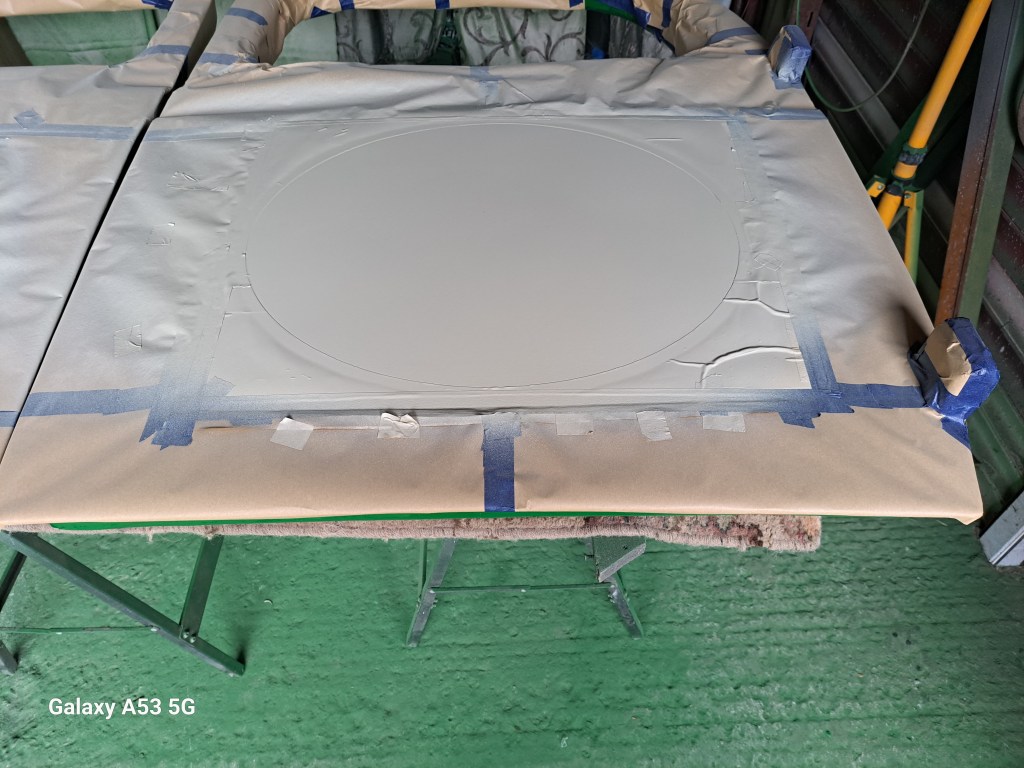
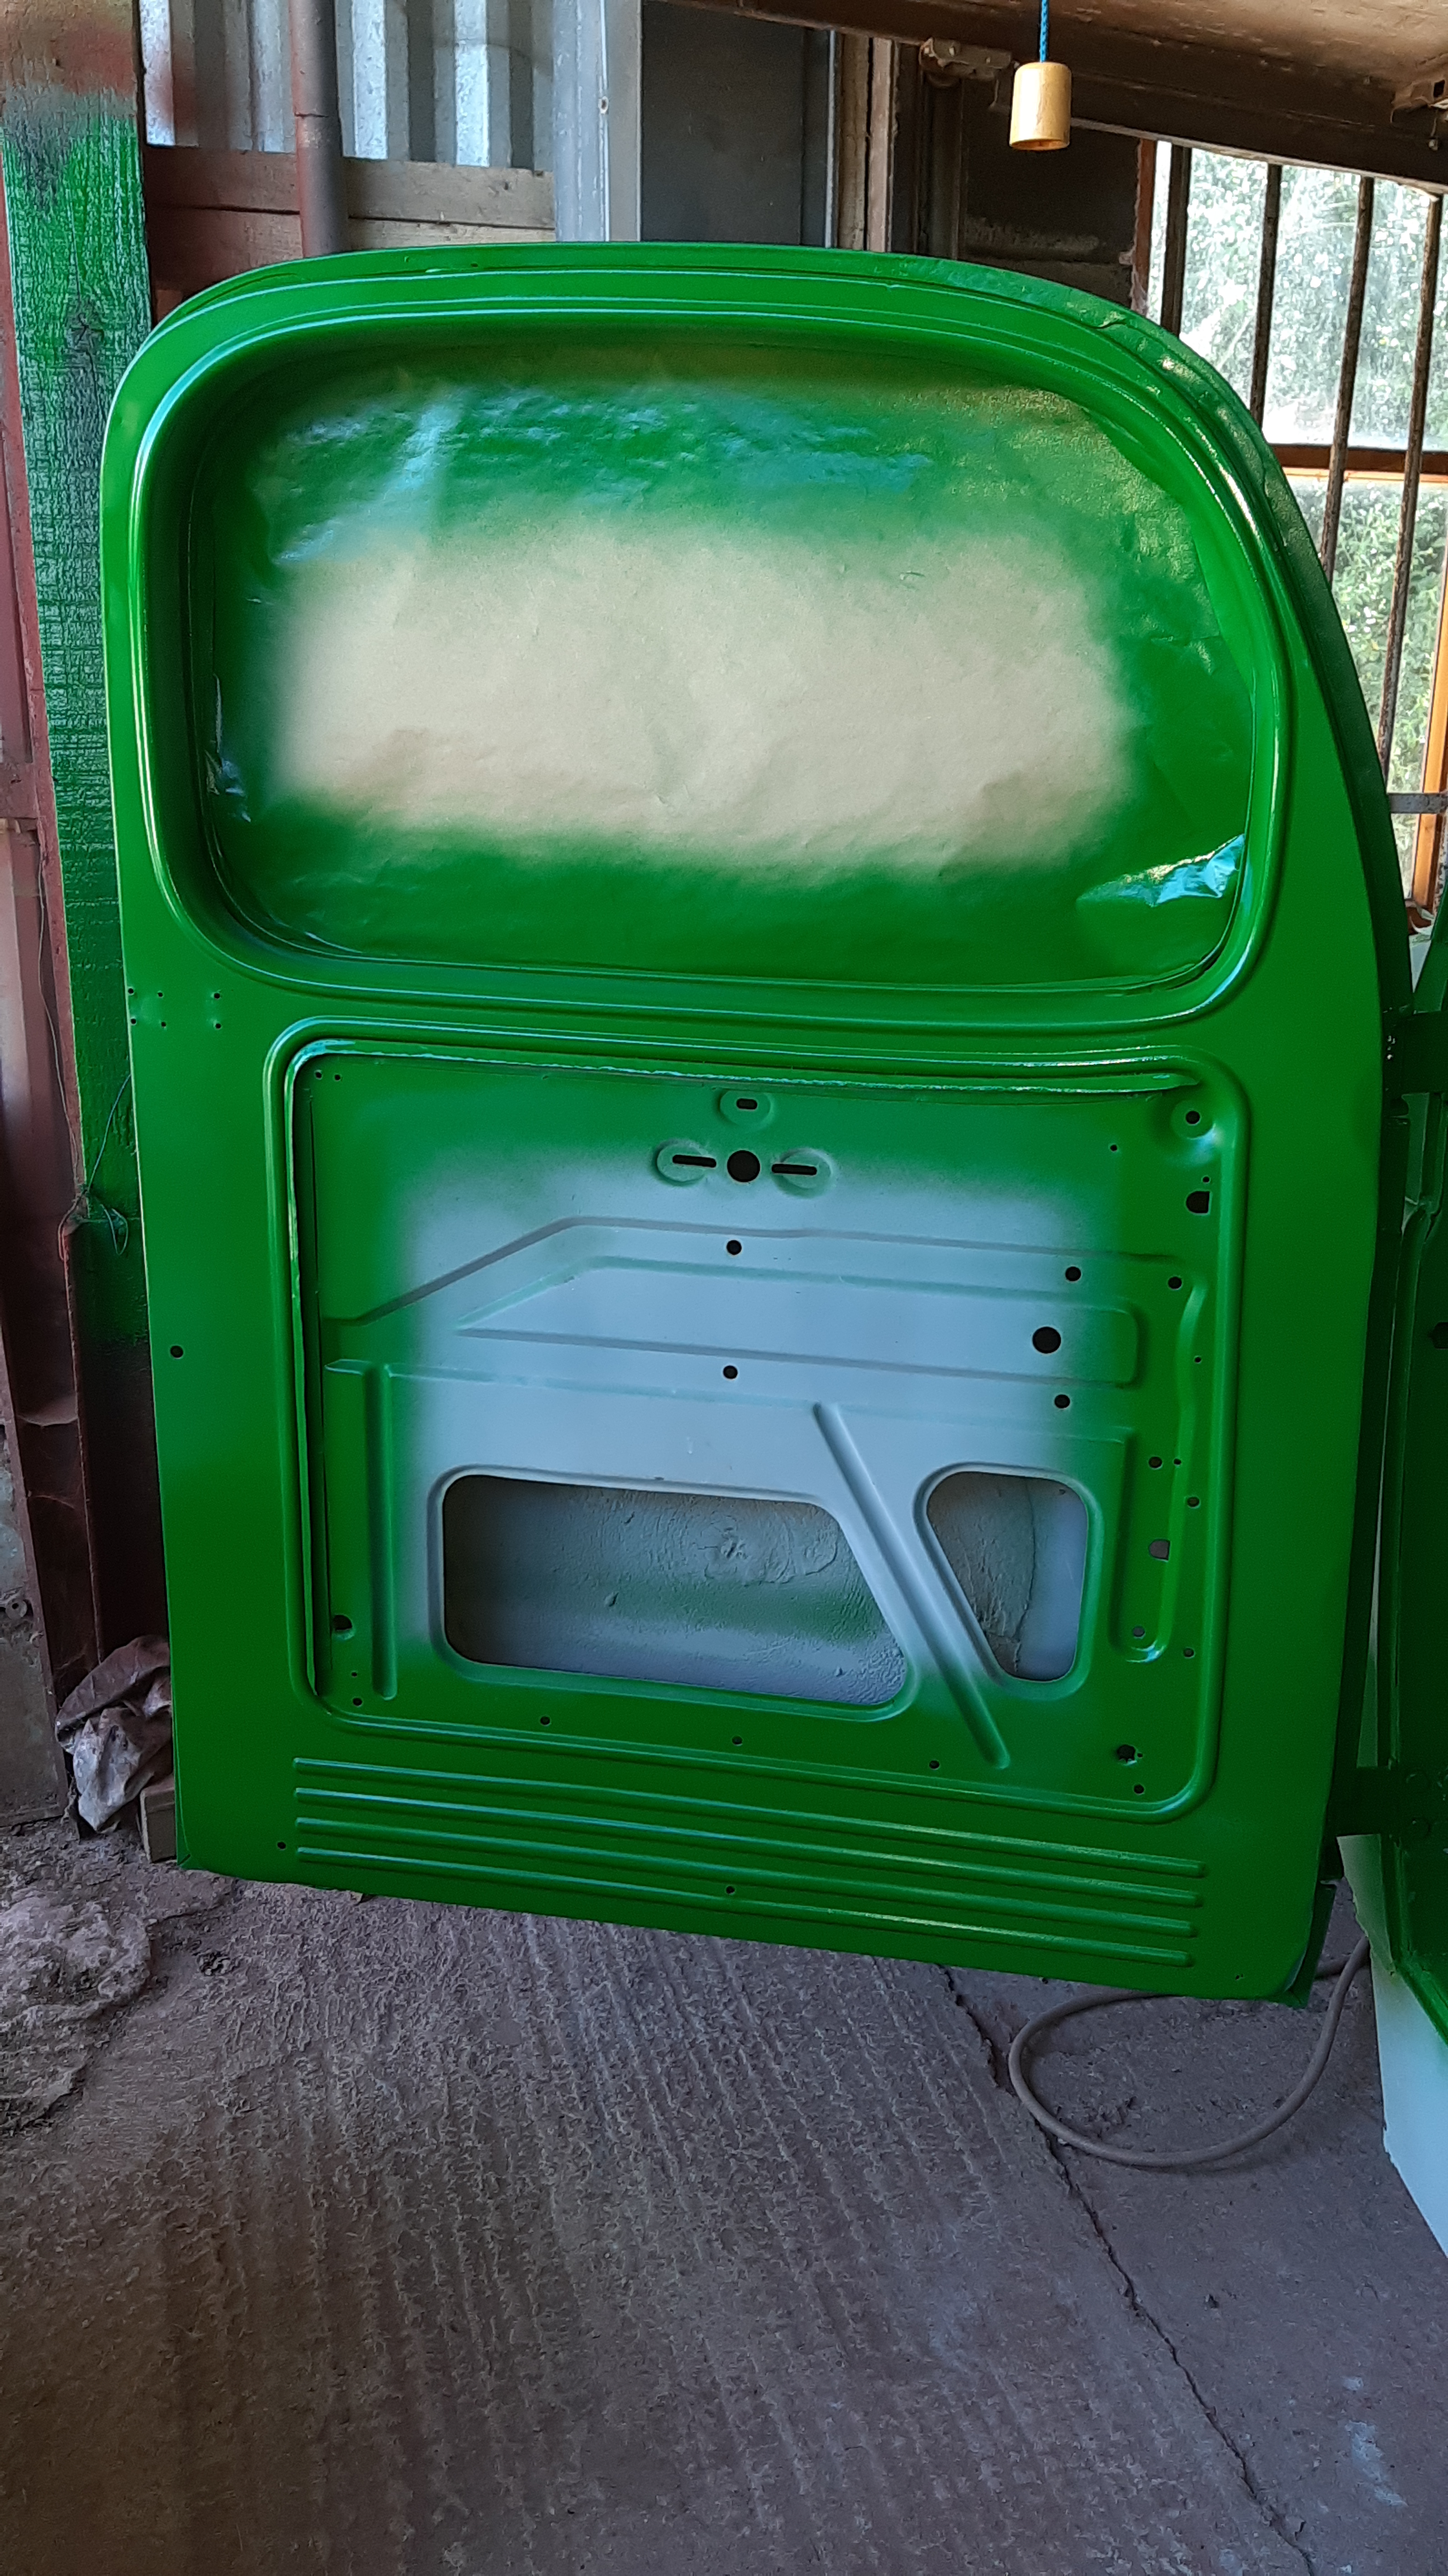
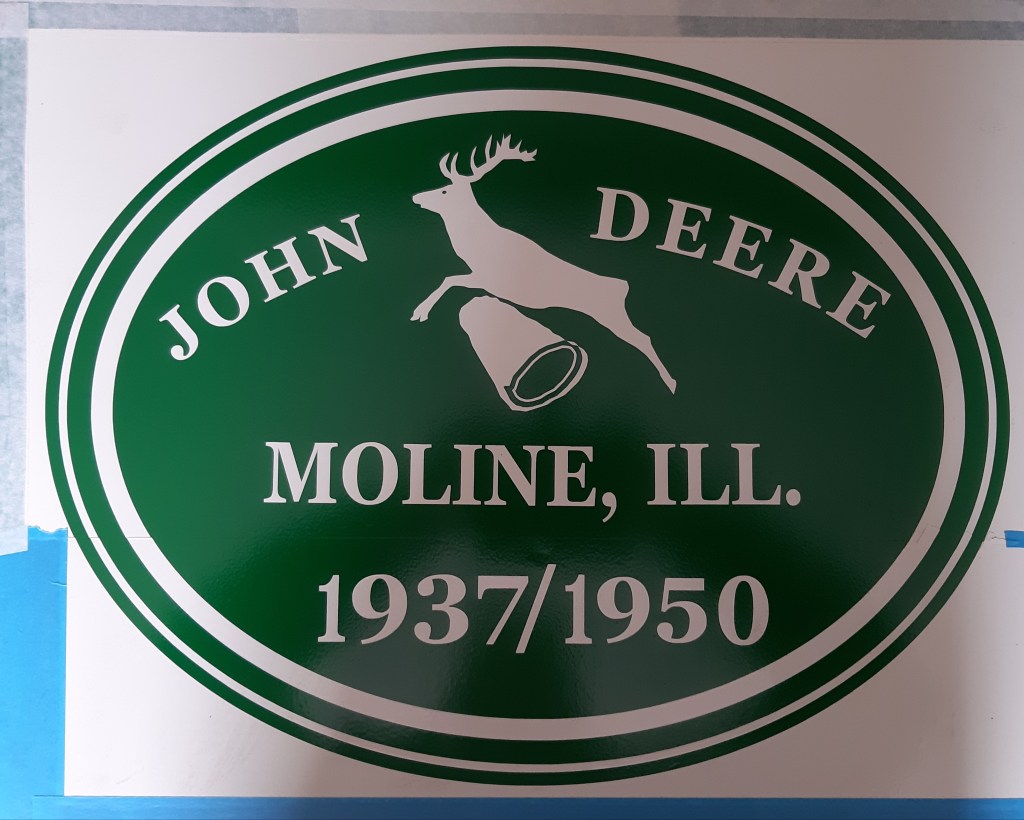
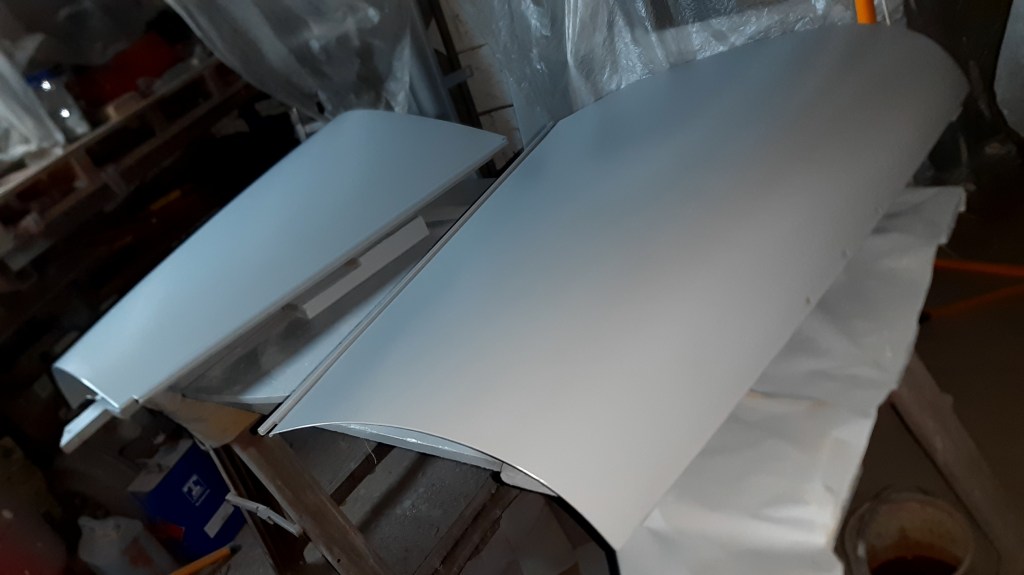
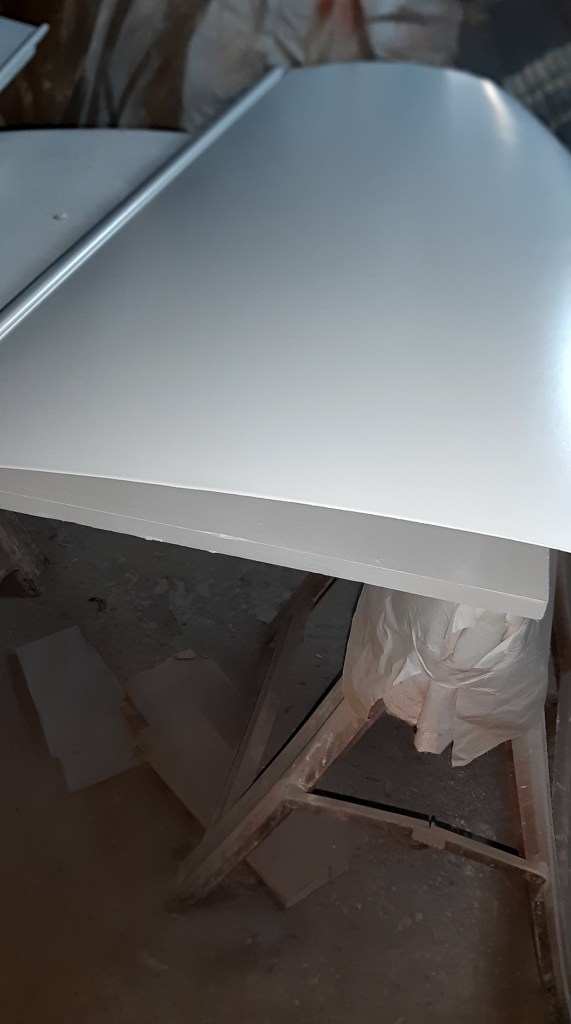
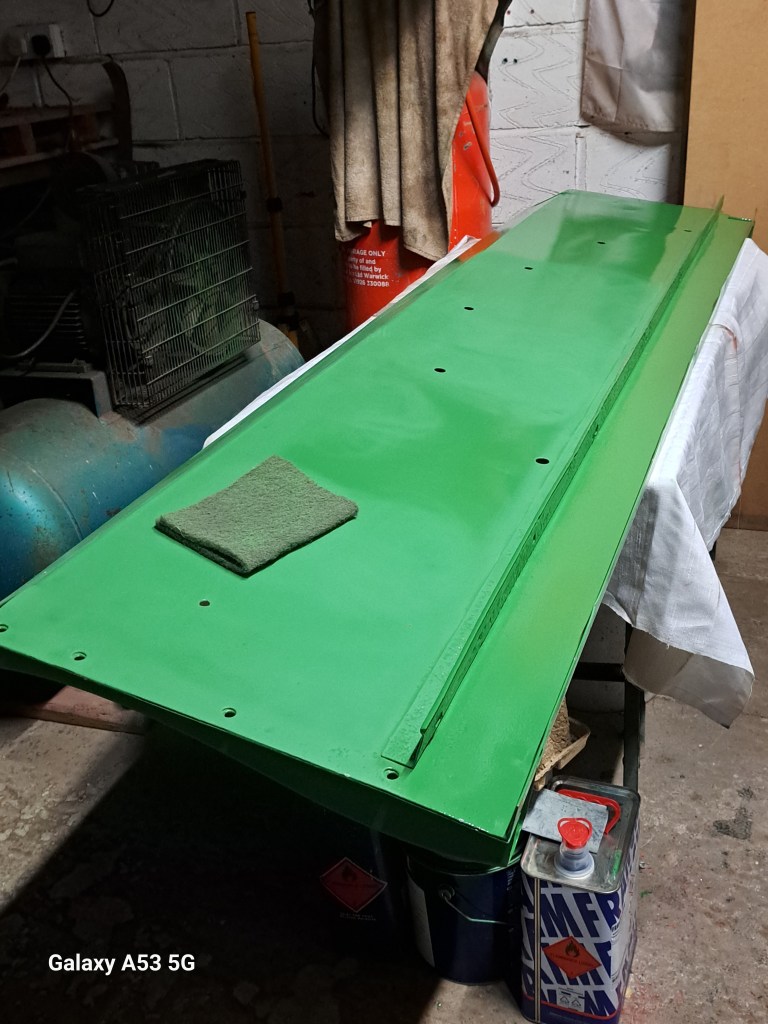
21/10/24, with the bed front and tailgate finished, I’ve moved onto the bedsides, this one has had topcoat both sides so all being well tomorrow will see the second side getting it’s first coat of finish colour. Once that is complete shall move onto the 2 doors before some small parts. Have been looking forward to working on the doors because of the John Deere logo that I have made stencils for, first I’m thinking of laying up the oval outer for the Old English White background then after a couple of days layup the more complex shapes which will be body colour.

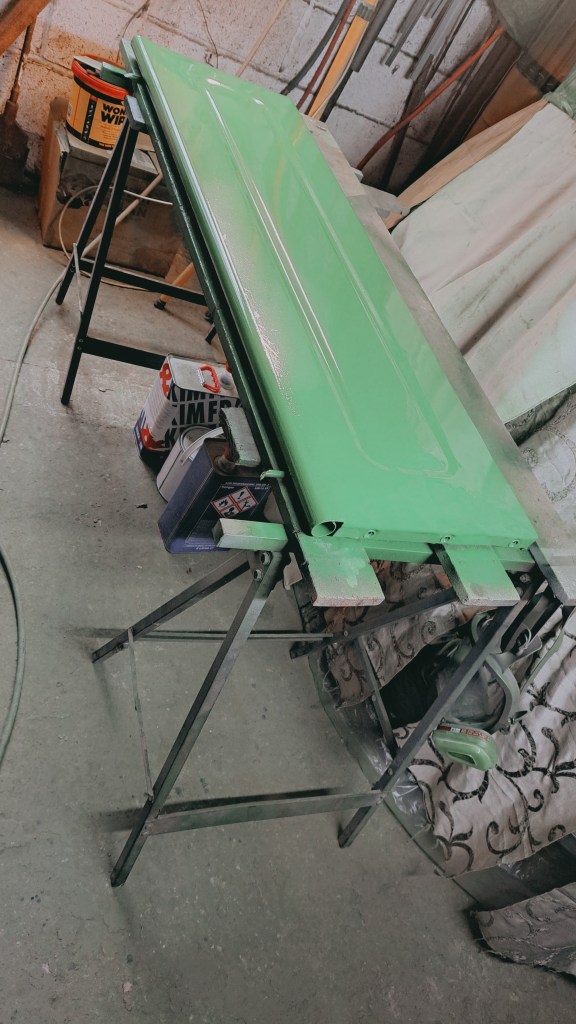
28/10/24 Both doors have now had top coat, will leave them a few days before I start laying up the stencils.

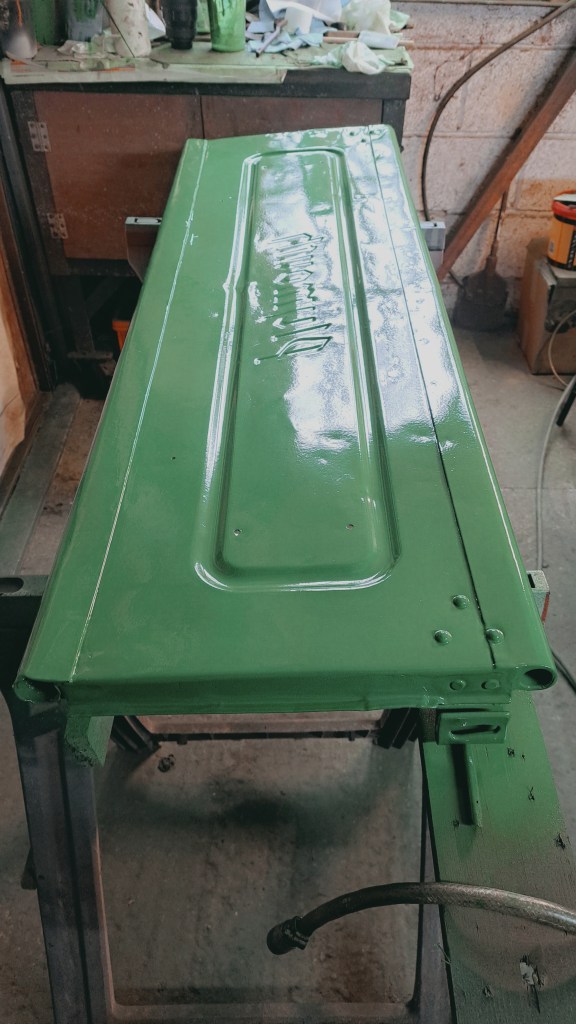
01/10/2024 First coat of Old English White, leave it for the weekend and see it requires another coat before removing the areas that need to be green on the stencils.