
This image was taken in Utah around January 2016
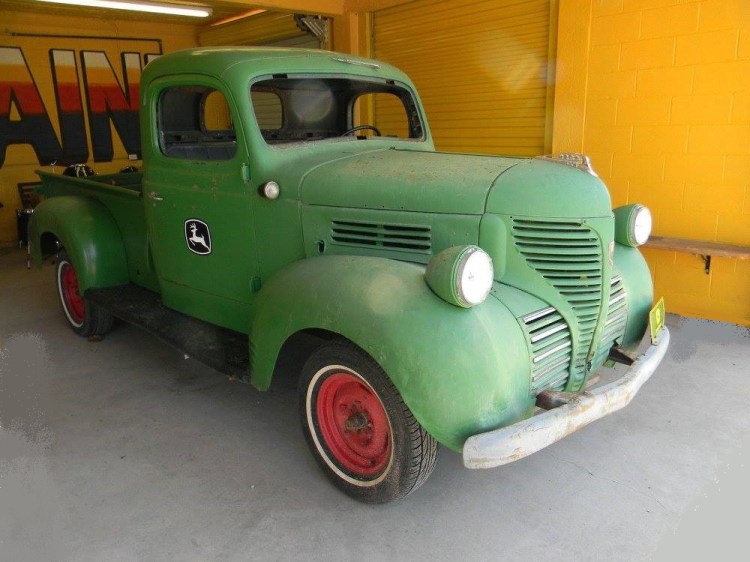
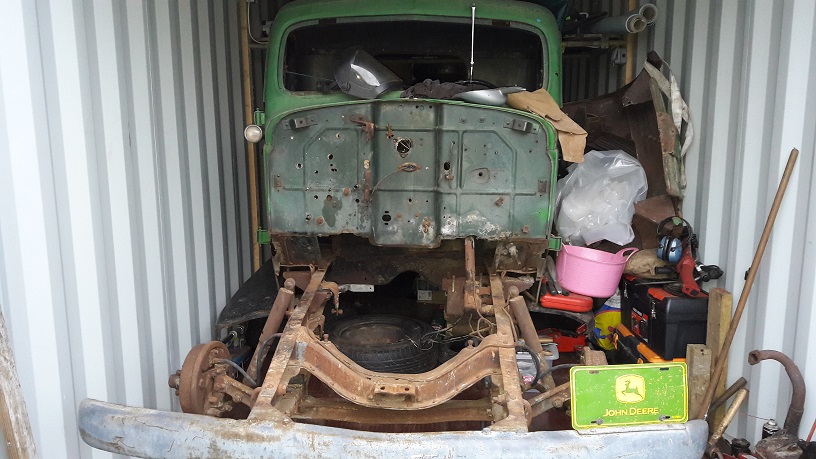
So this was where we began, I had been looking for a 1941 Plymouth Pickup for probably 2 yrs, most what was out there were either over priced restored or piles of incomplete wrecks with plenty of rust. Had been exchanging messages with an importer about parts for another Plymouth I had imported 2 yrs previous in December 13, then out of the blue he phoned me about a truck that he wanted to turn over quickly to raise some cash, when he said it was a PT125 I couldn’t believe my luck.
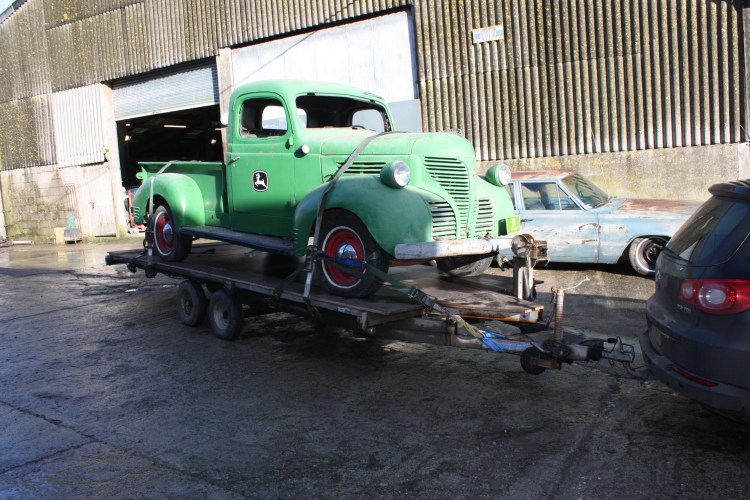


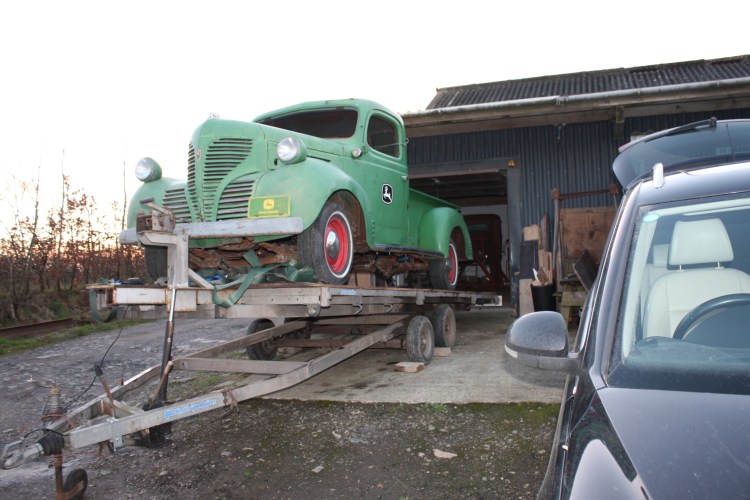

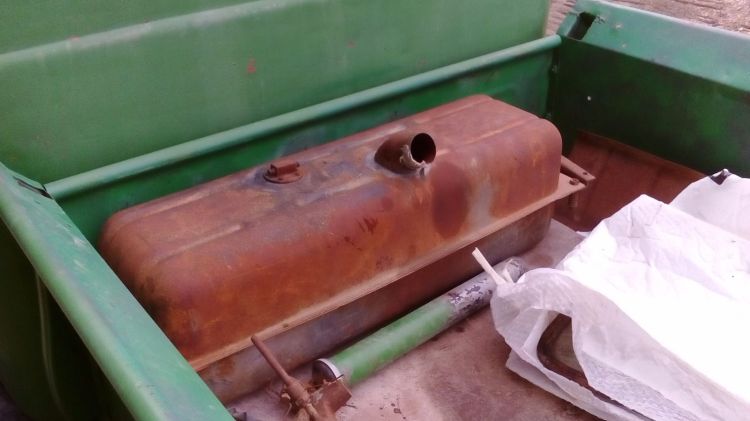
Purchased this truck 19th December 2015 and towed it home after a 140 round trip, already I was £2K up on buying t in the UK, so now it’s time to see what I bought, I knew it was missing the engine/trans drive train, I had calculated for that in the price I agreed to pay the importer.


Trying to find what’s not there
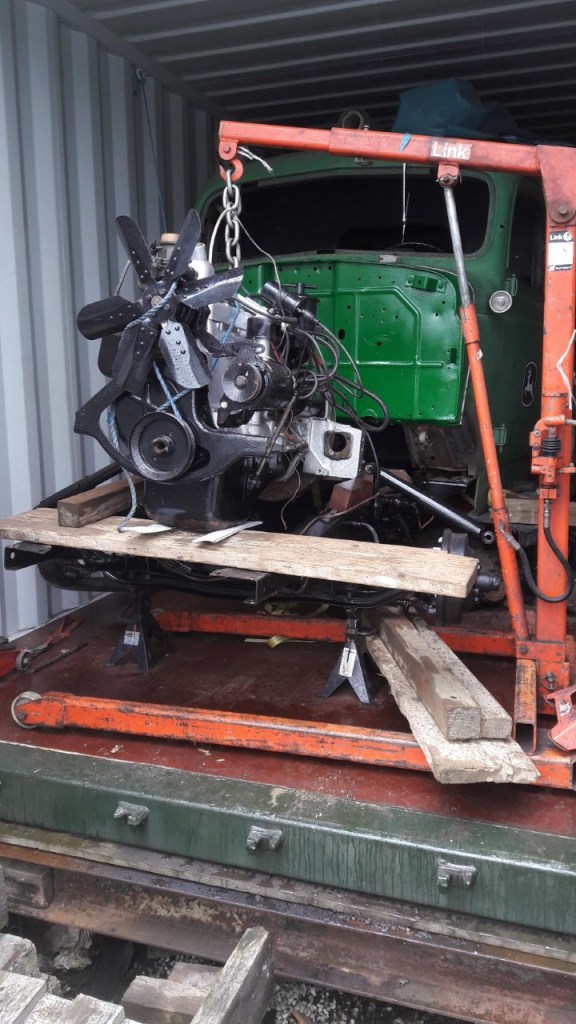
Had another call from the importer, he had an engine /trans in a container coming over, now I know that an importer will get far more if he sells a car and the drive train separately, so is this the unit that was removed before I viewed my truck. He gave me a price which I knew I could do better so told him to ring me when he had it running, wks past so when I phone him he told me that he hadn’t had time and bring a trailer, which I did.
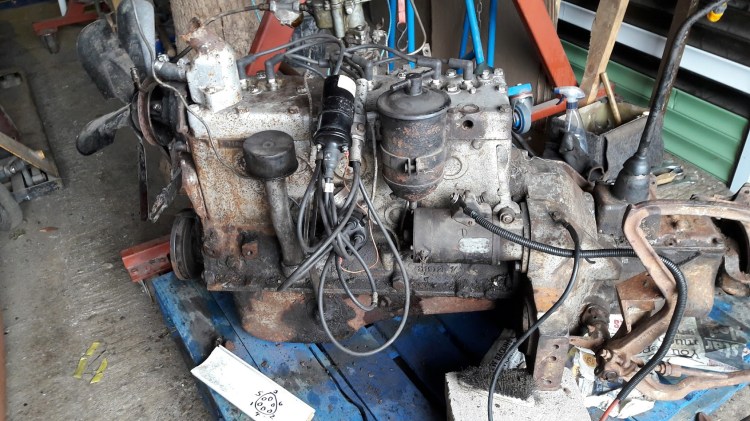
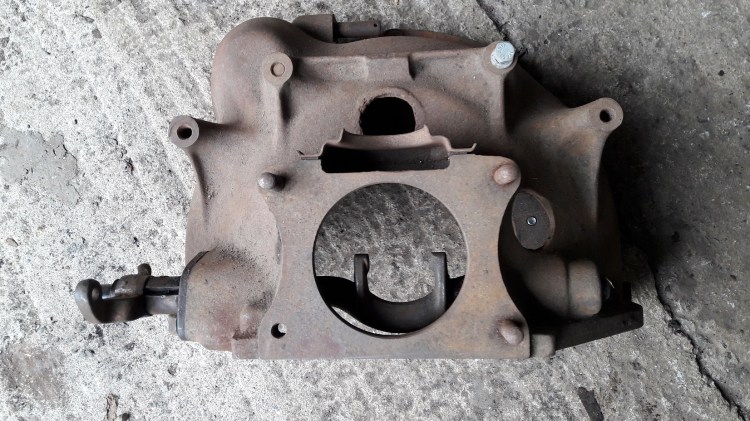
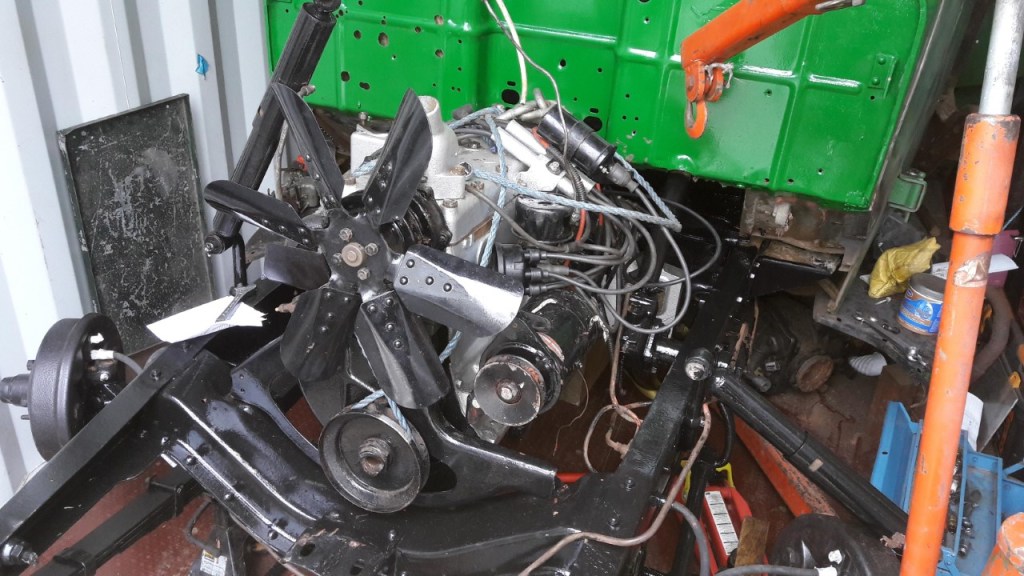
Knew the engine turned over so first things first check the oil level which was good, check that there were points and condenser under the cap. Temporary wire up, clean the carburetor float chamber and bowl, clean the spark plugs, connect the oil gauge, add a temporary gas tank and lastly grab a fire blanket also an extinguisher if you have one. Connect the battery half a ltr of petrol in the tank, hit the starter button and wait, it would fire but not run, check the HT lead 1,5,3,6,2,4 turns out that it had been connected for an anticlockwise distributor by mistake, second attempted, wow firing plus petrol igniting from the cylinders which didn’t fire. Time to take the head off which on these flathead engines is straight forward, no valves to worry about, that showed 5 valves stuck open, not sure when this engine last run so decided to strip all the valves out, inspect and make a decision on what to do next.


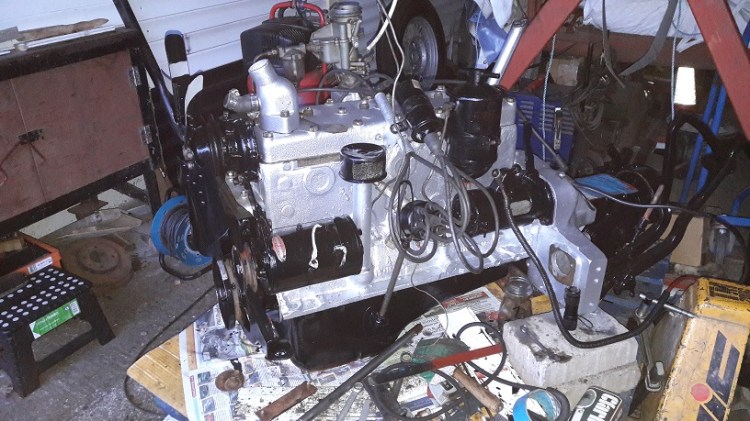
Engine Top End Rebuild
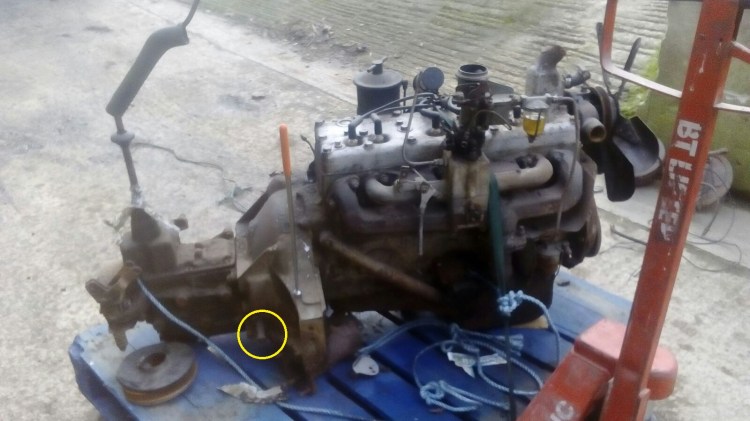
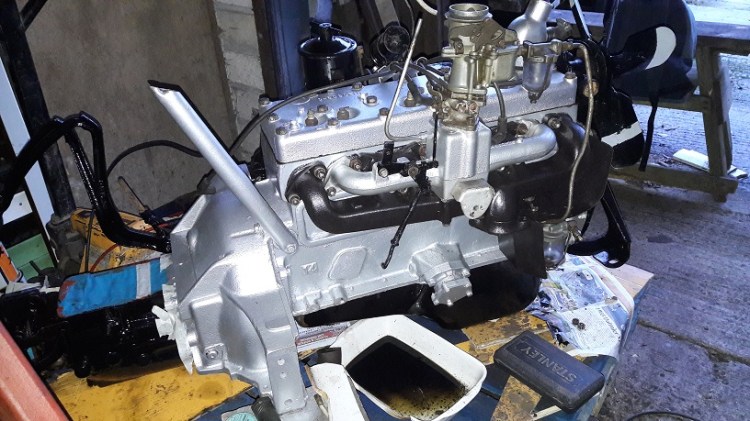
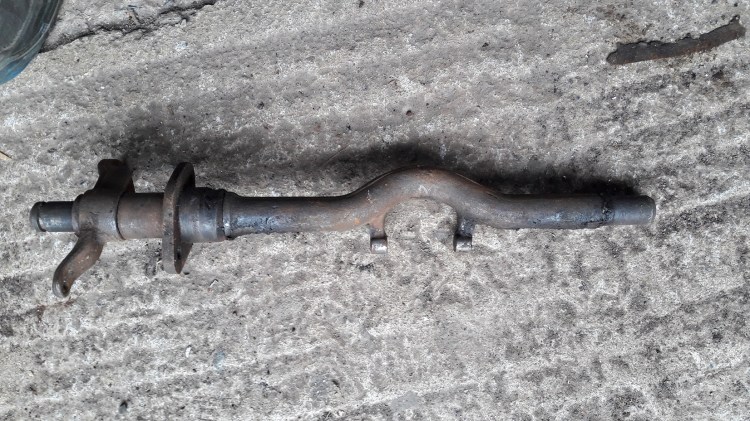
Take the valves to the engine builder to have the seats reground, recut the valve seats, lap the valves in, set the valve clearance. Plenty of cleaning, scraping, degrease before tidying up and painting the engine to make it look pretty all takes time but much easier when it’s out. While working on the top end realised that the clutch operating rod came out of the right hand side instead of the left, so this engine never came from the truck. Needed to find a left hand drive clutch fork. found one just like that on the P15-D24 forum for the price of the ride.
Bodywork :-
Front Fenders : Cut out the splits, make the patches and weld them in place.


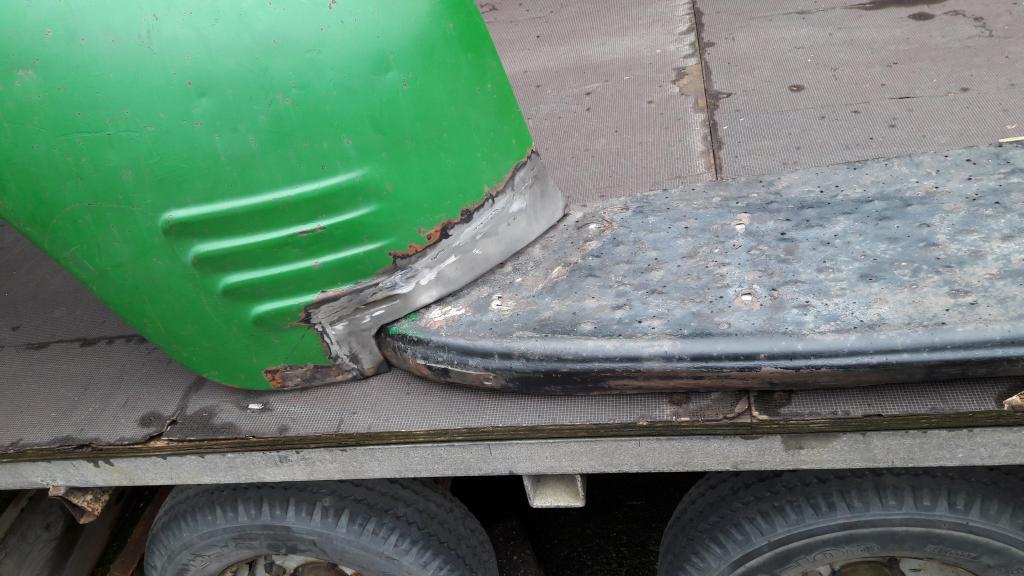

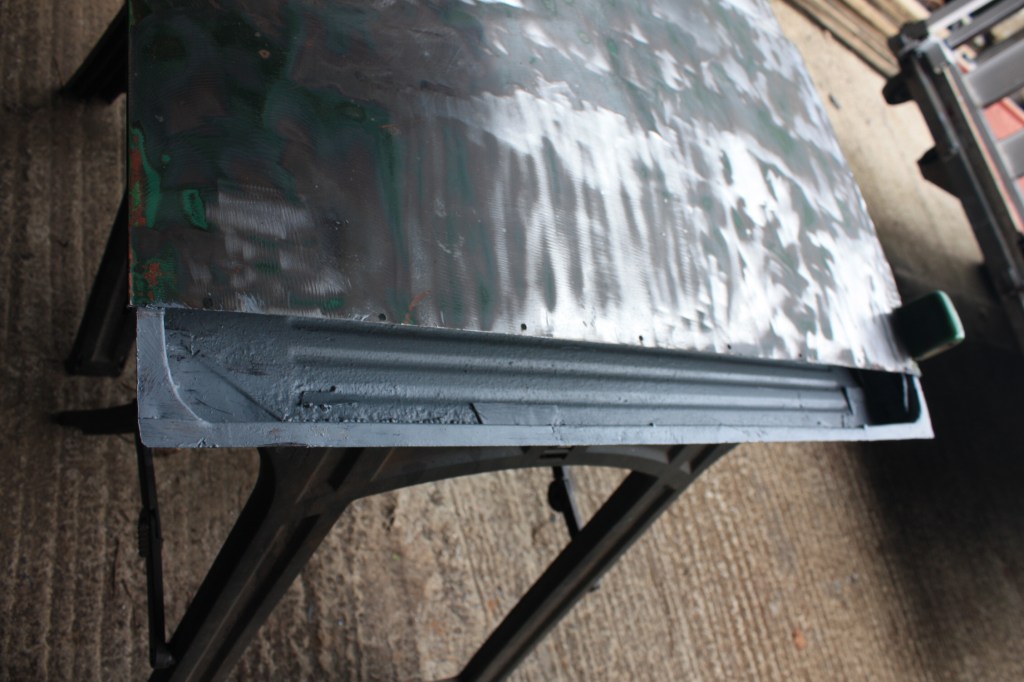
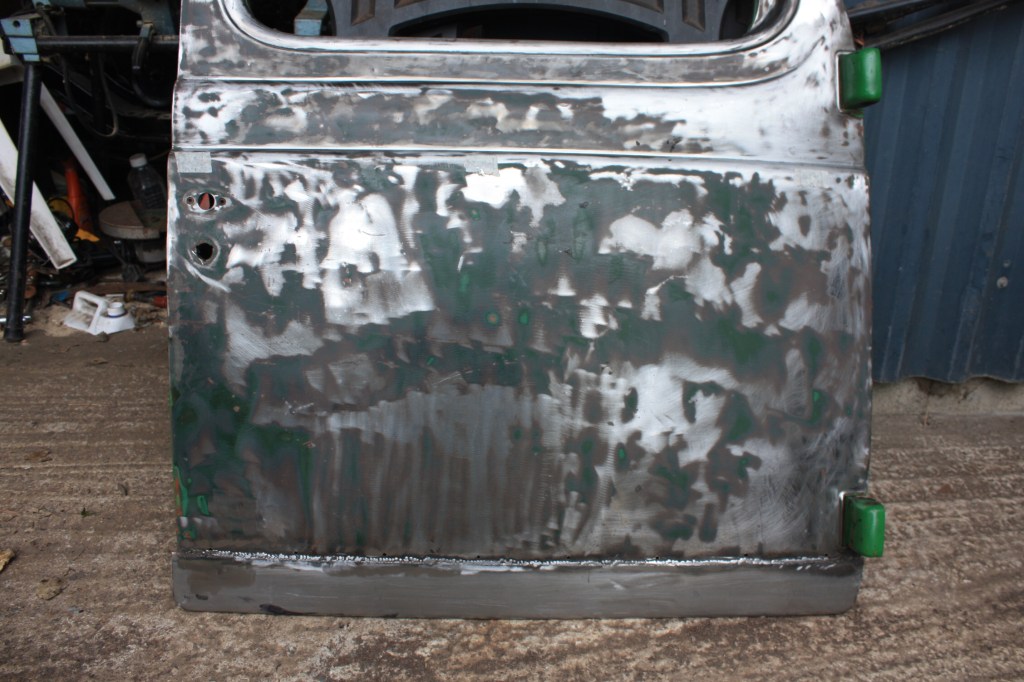
Right Door : Bottom of this door had rusted out where the drain holes had gotten blocked.


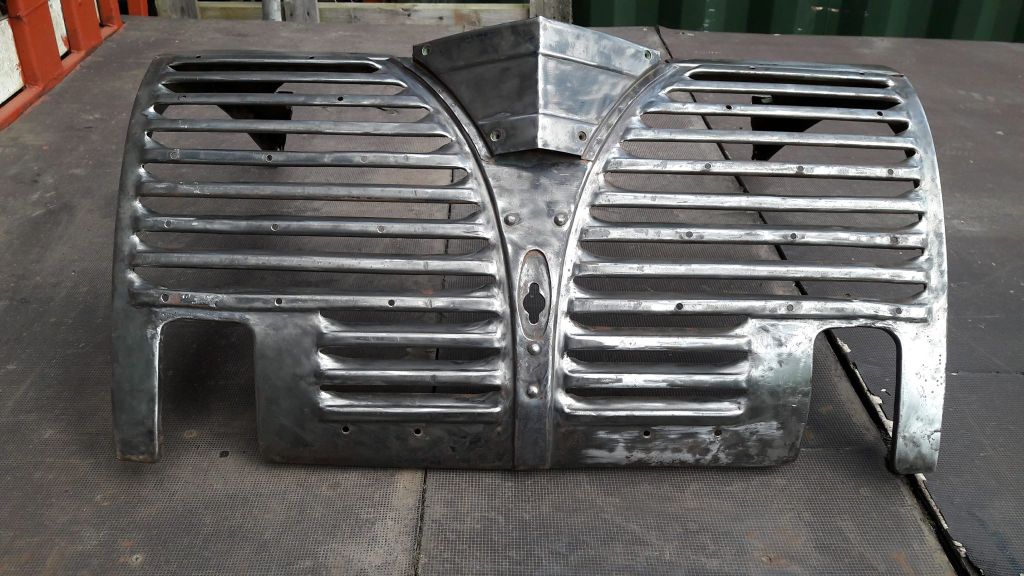
Centre Grill : So many dents in this piece, testing time.
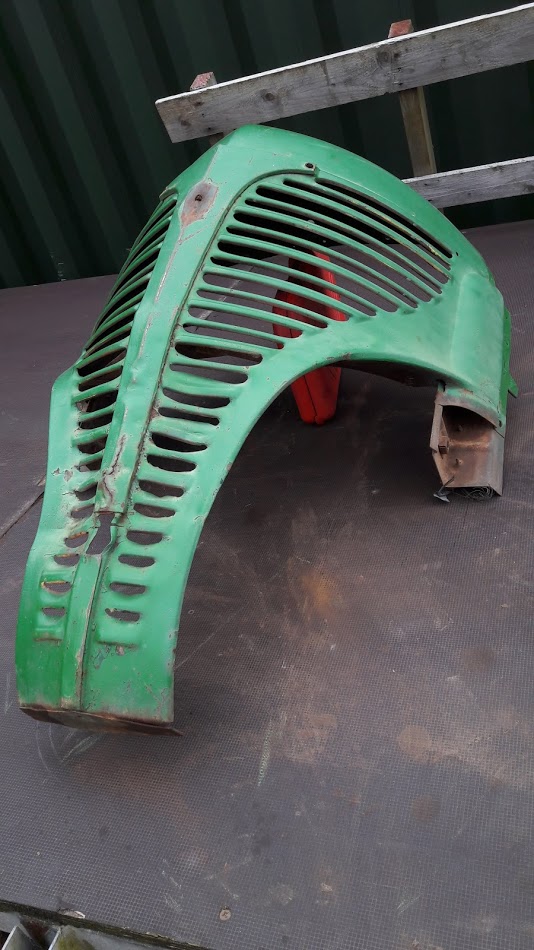

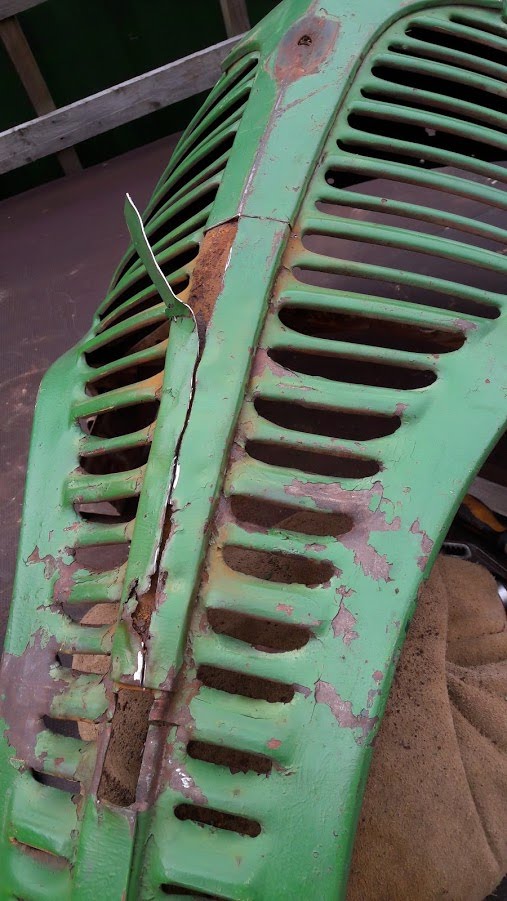
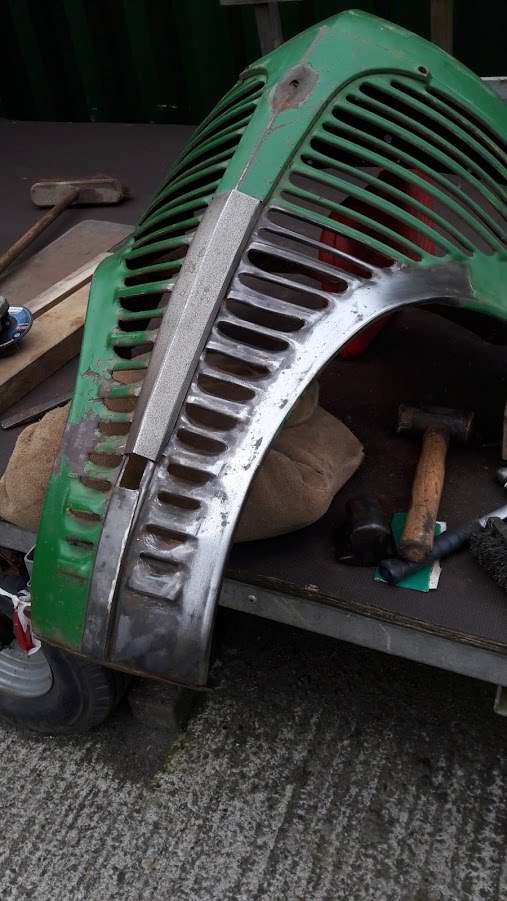
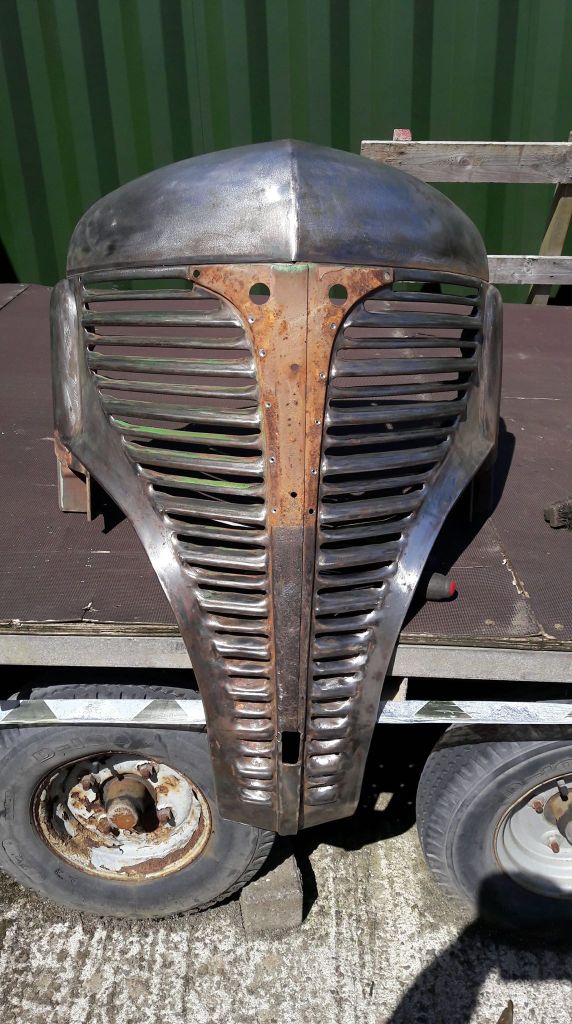

Lower Grill : Perhaps the most difficult panel to get symmetric.


Cab :-
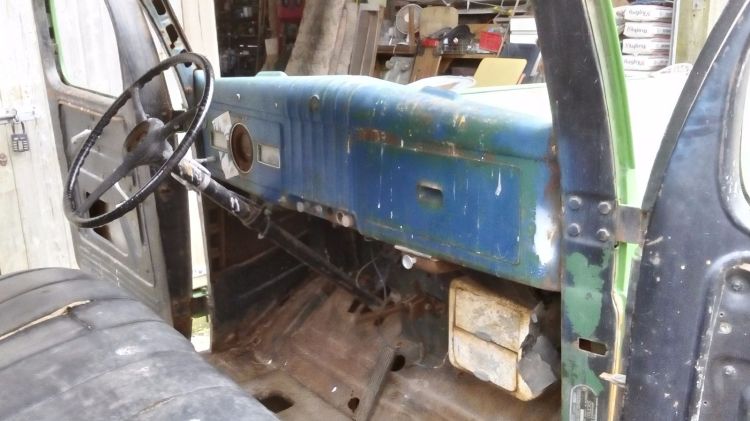
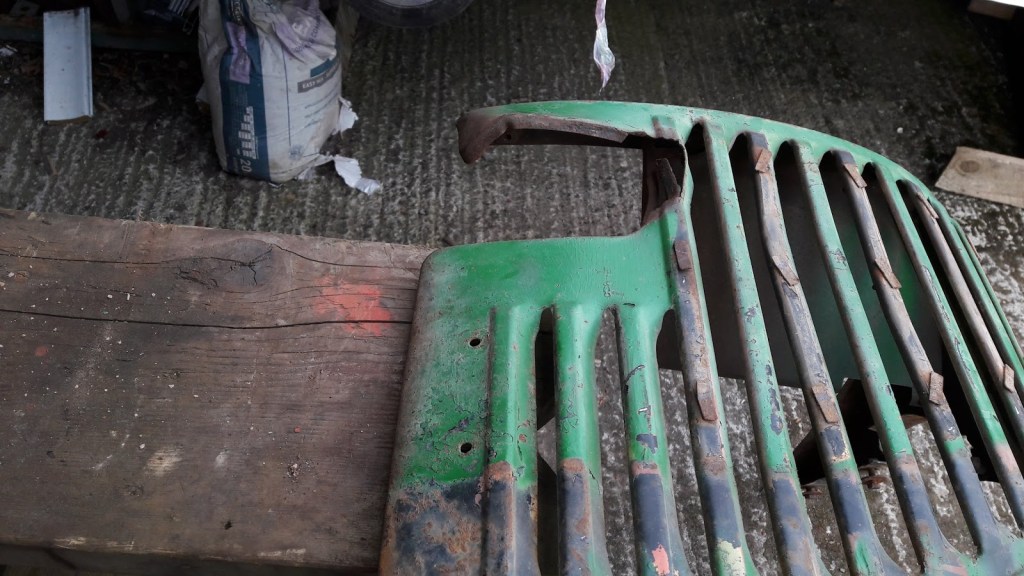
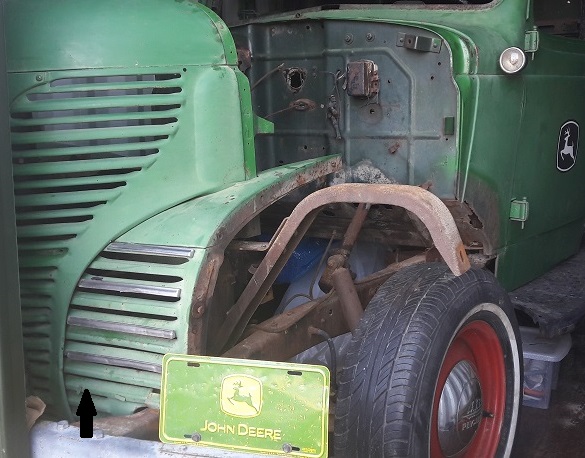
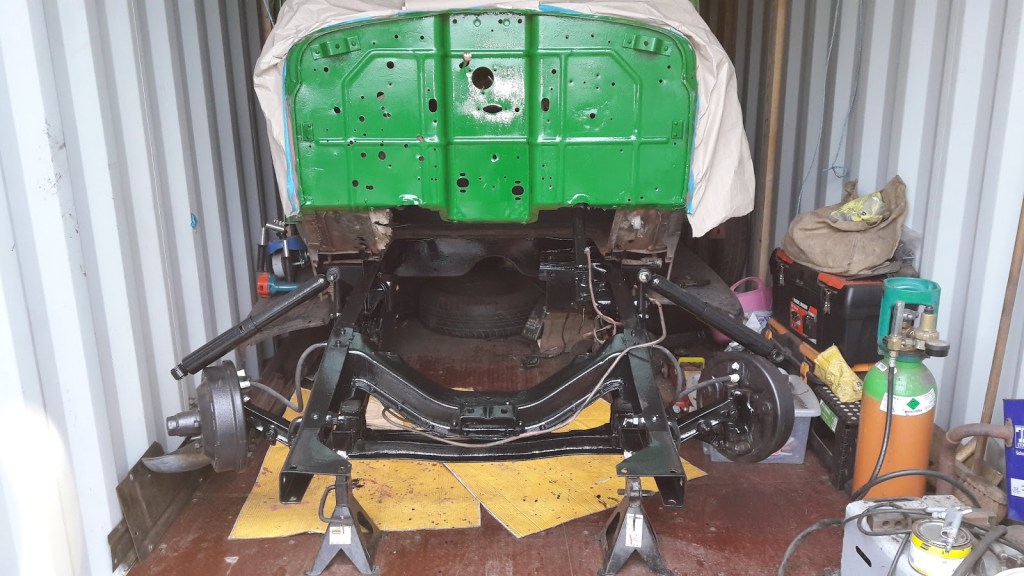
Front of the frame de rusted, treated, then a coat of red oxide followed by 2 coats of chassis bushing enamel. Moving on to the Firewall, wanted to get this painted in body colour before the engine went in., more stripping then primer and body colour, John Deere Green, that’s what it came into the country with. Doors will have the JD Logo from 1937-1950 which fits the year of the truck and it may have Honnen Equipment Co on the panel between the rear fender and the cab, they are an independent JD agent close to the area where the truck lived from 1972 Tooele Utah 84074.

Time to put the engine/trans into the frame.
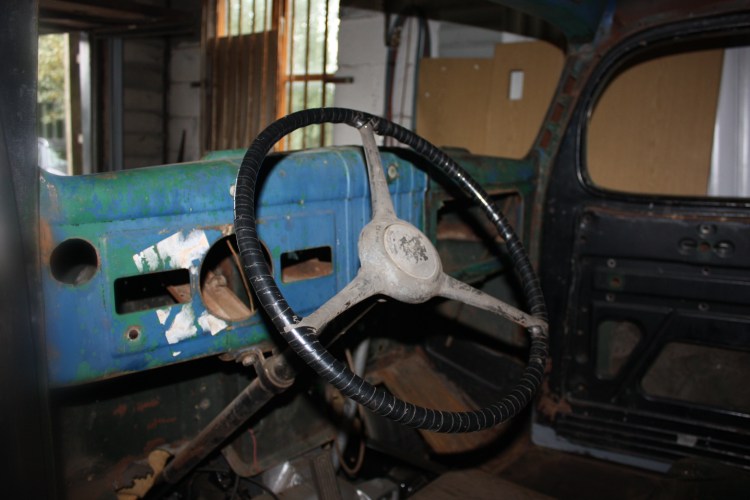
Had hoped not to take the cab off the chassis but working in a container it was found to be impossible to do a proper job with the cab on, what I didn’t want to do was to remove the steering wheel, these are getting hard to come by items therefore command a high price for a good one. The reason for not taken it off was they are delicate items and if they are really tight or you don’t pull the absolutely square the Bakelite will crack or break-off of the steel inner frame. With this in mind the cab was lifted vertical and then tilted backwards so that the wheel passed through the hole on the floor, this was done with the aid of 4 400 lb multi pulley block hoists.

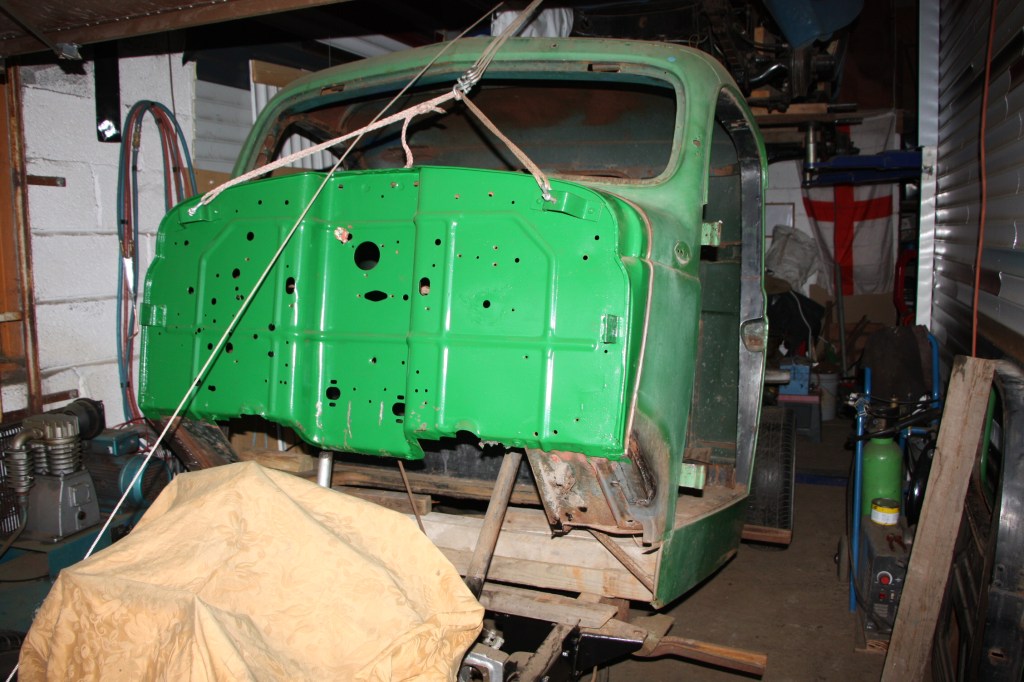
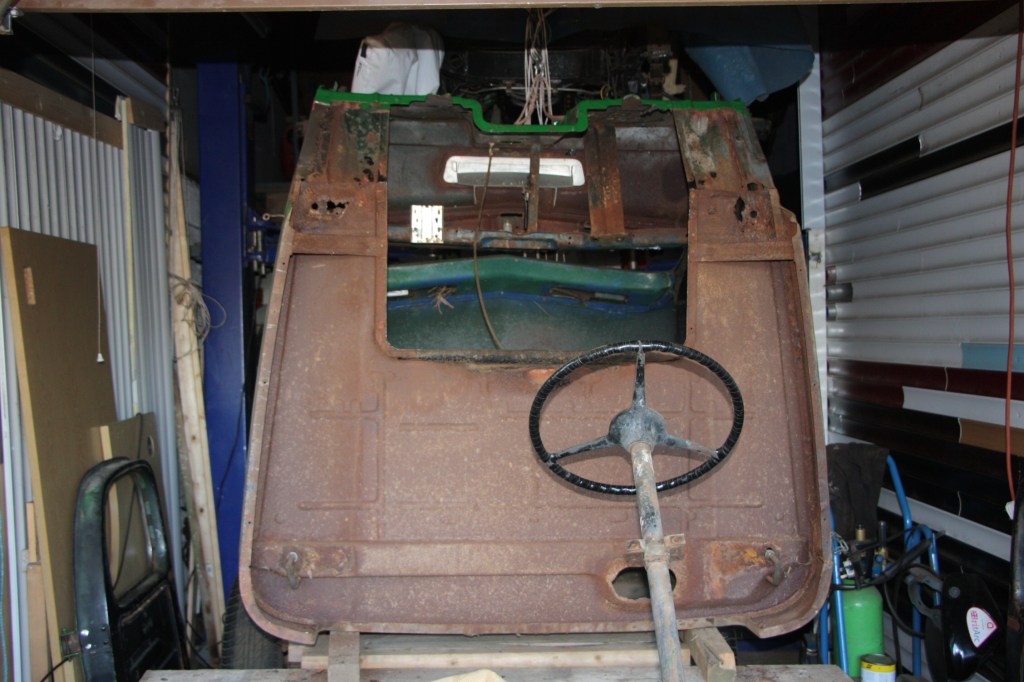
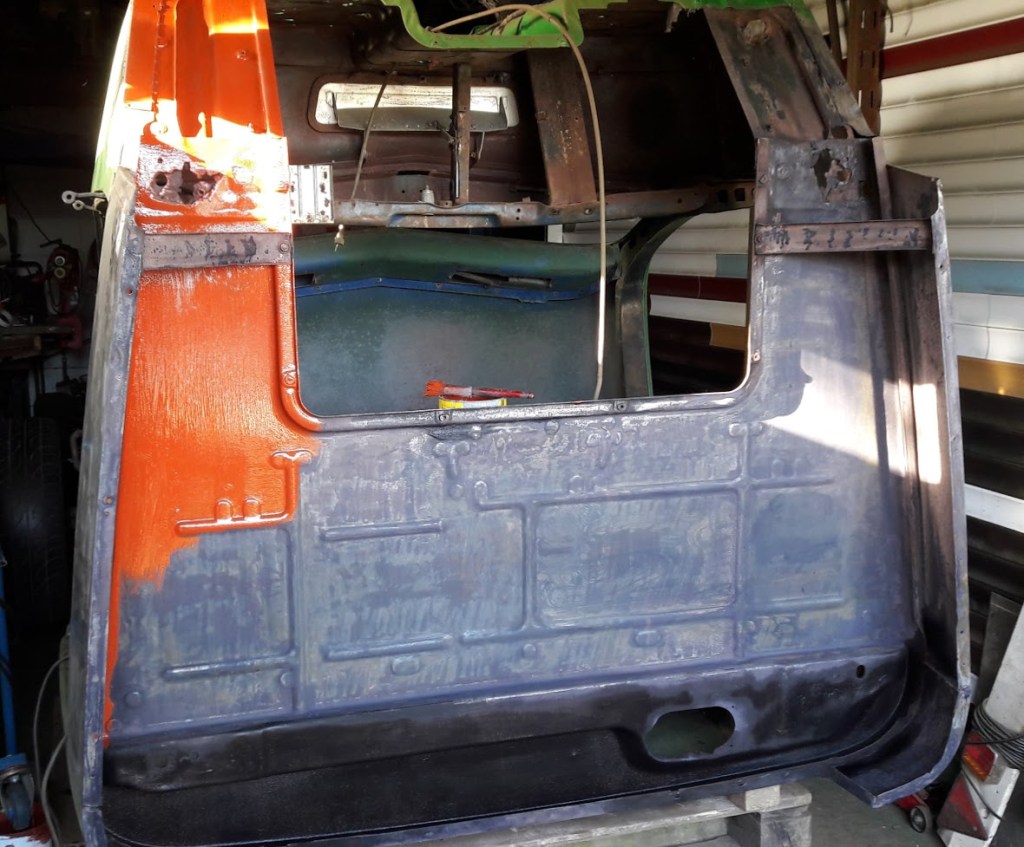

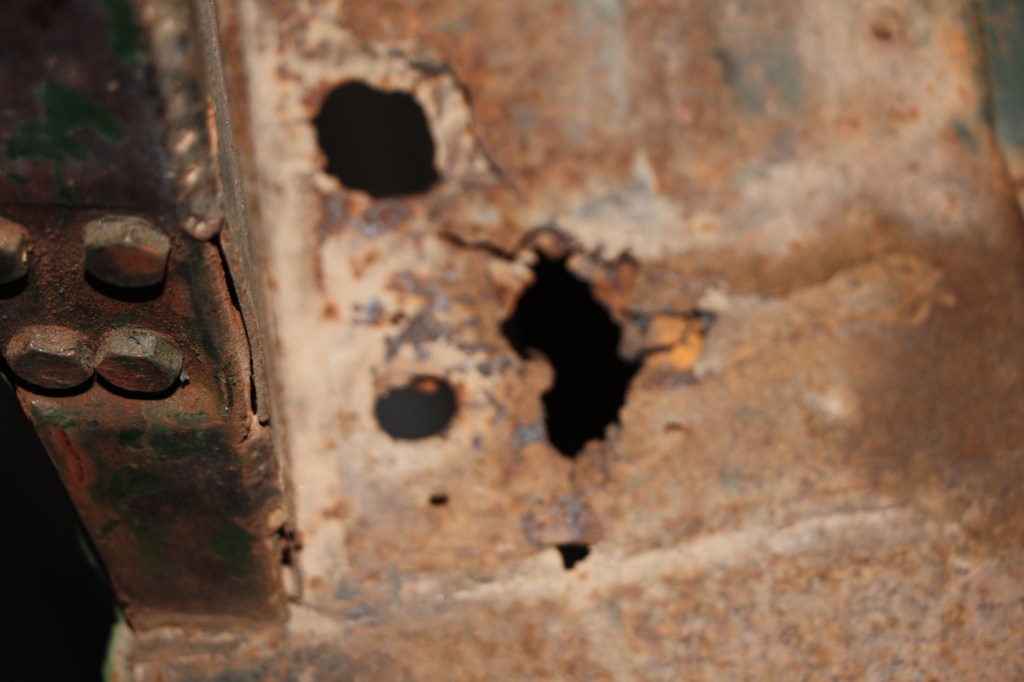
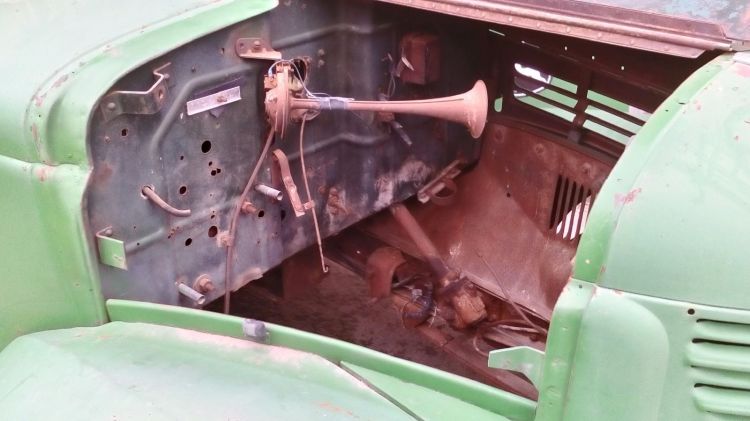
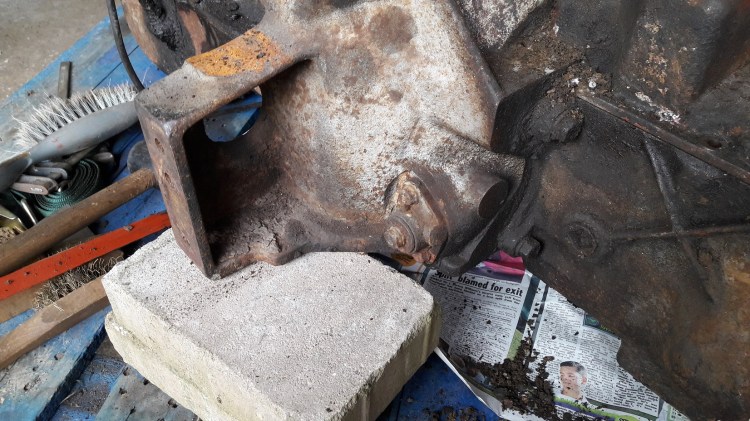
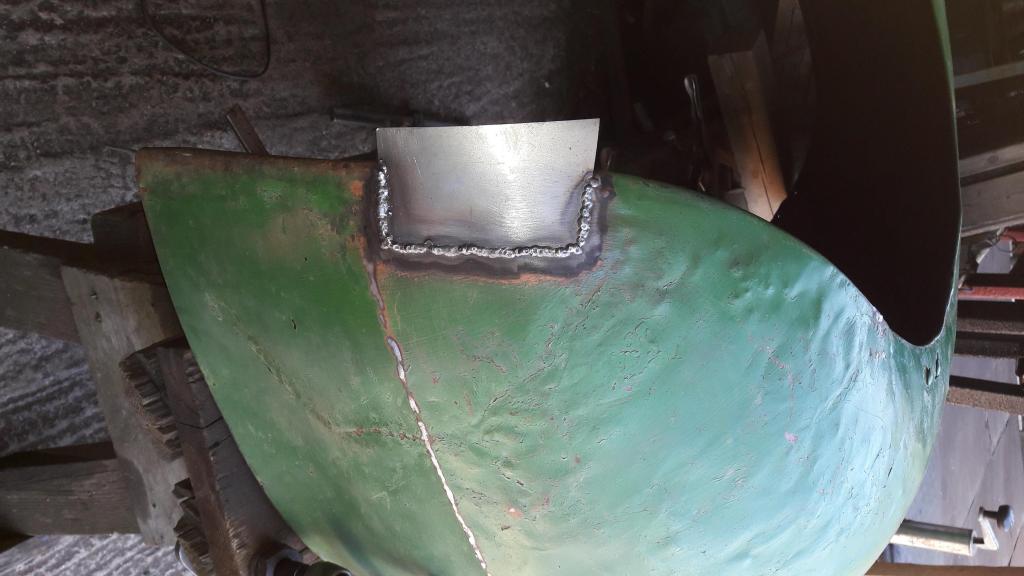
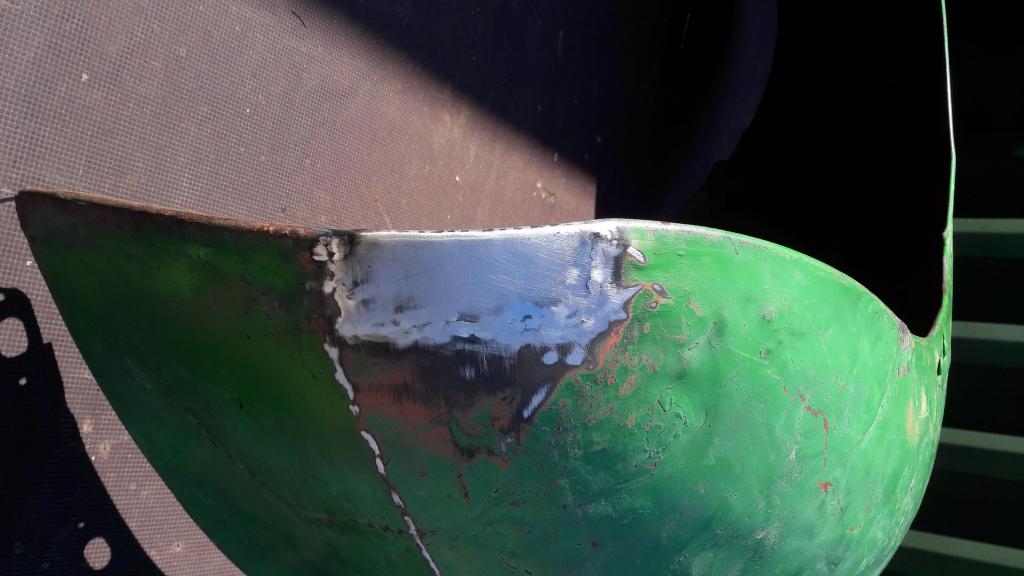
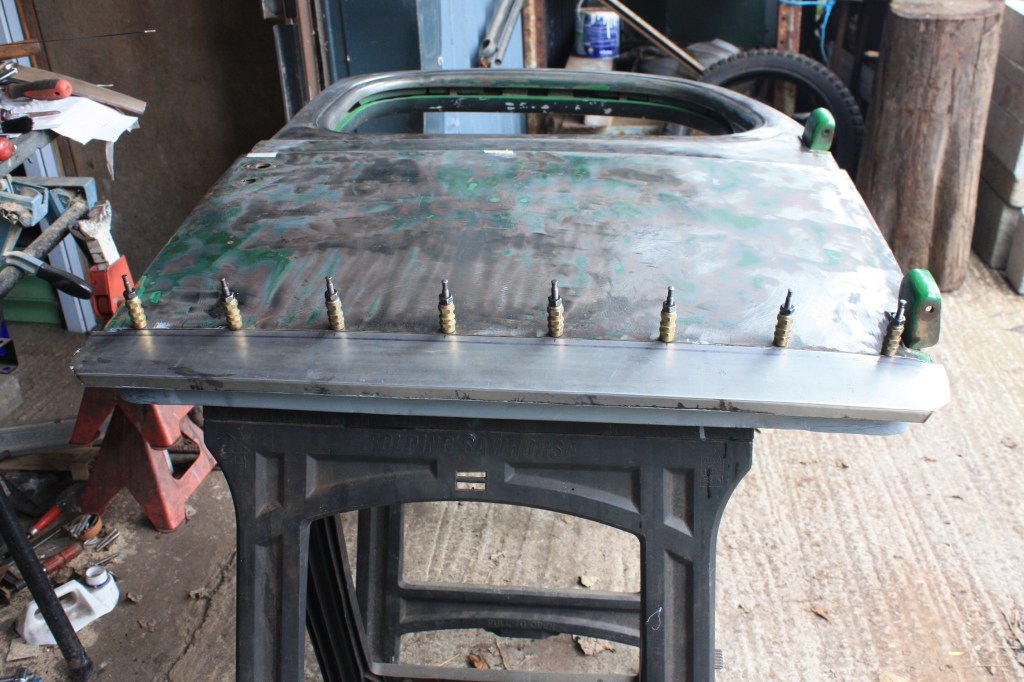
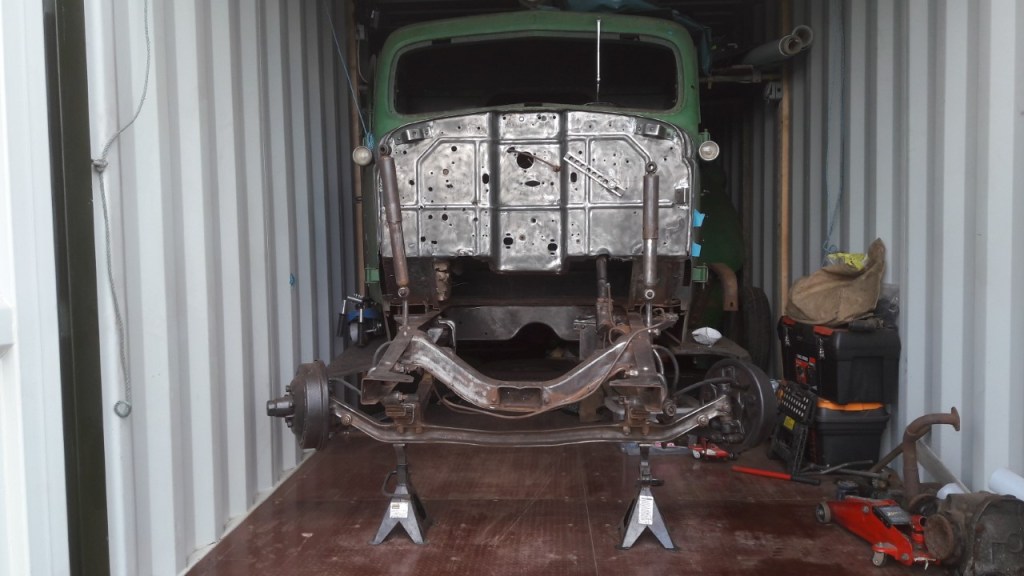
Image 1, both sides had the same problem so both were plated with new steel. Image 4, the black coating is Fertan a chemical/water emulsion, FERTAN Rust Converter also leaves a protective zinc coating that prevents recurrent rusting for up to 6 months. Image 6, The rusted out cab front fixings were cut out and double skinned again with new steel.
