Part 2 :-
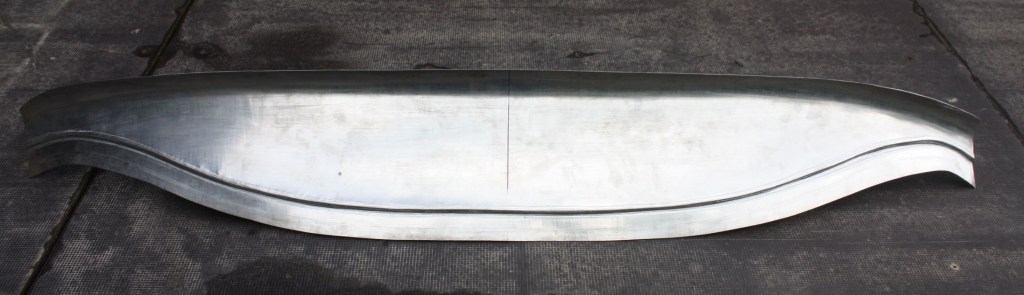
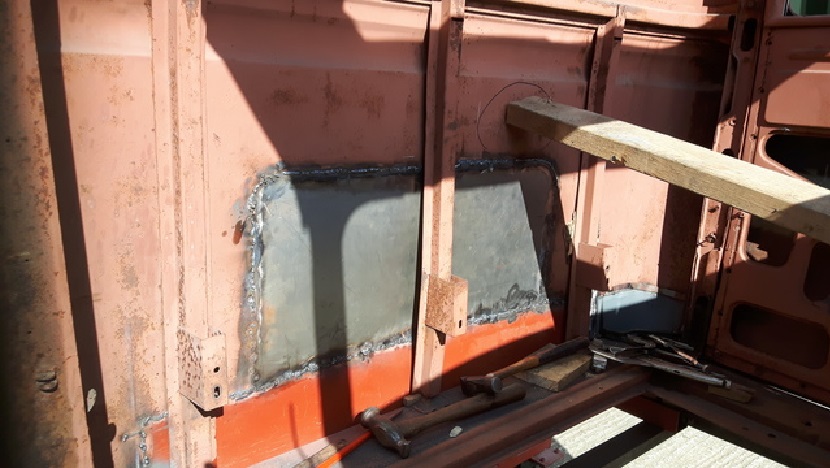
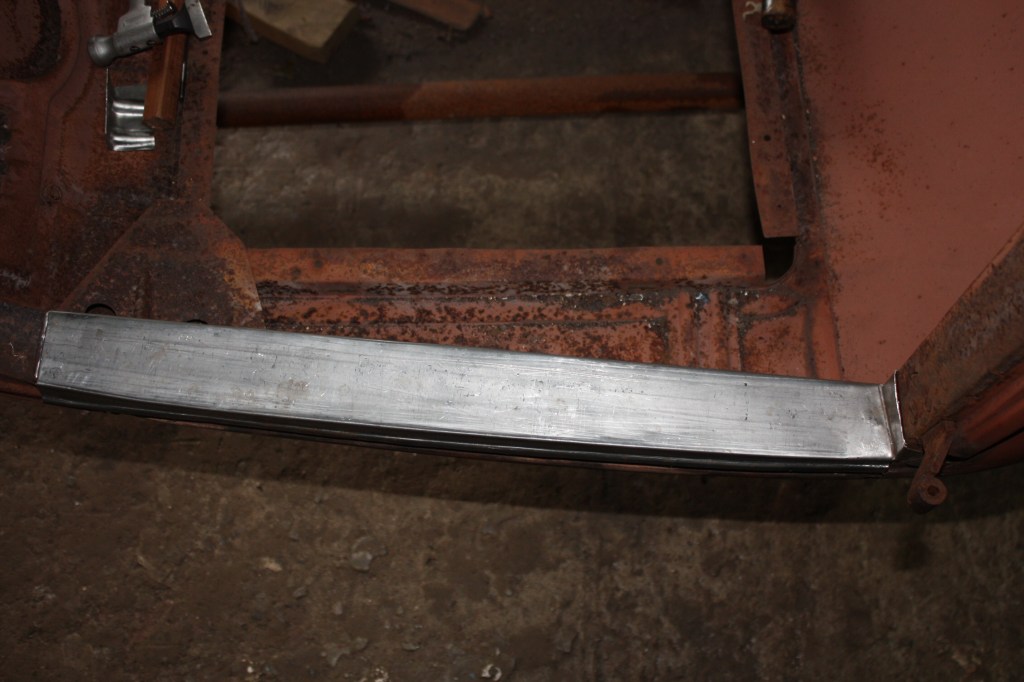
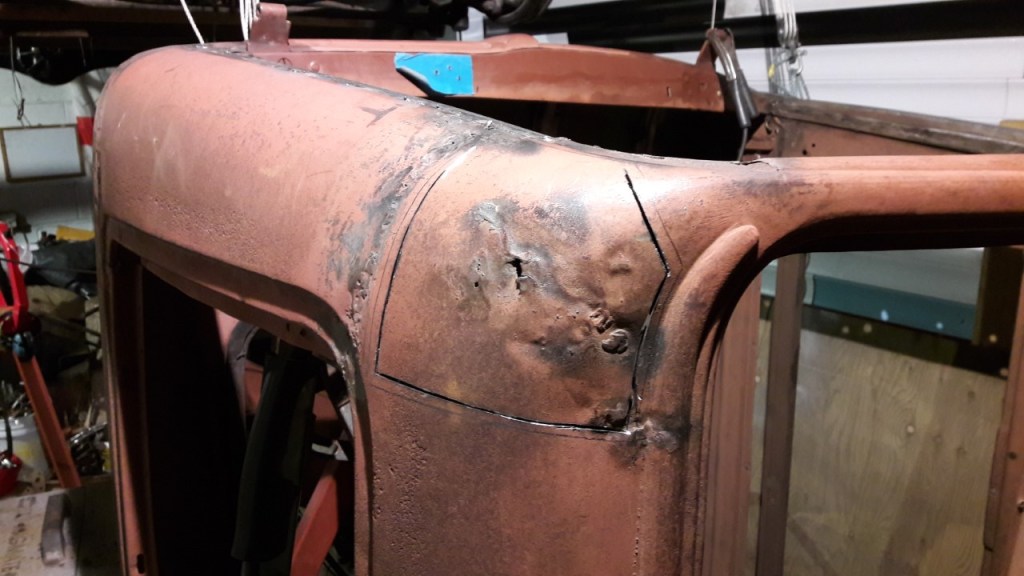
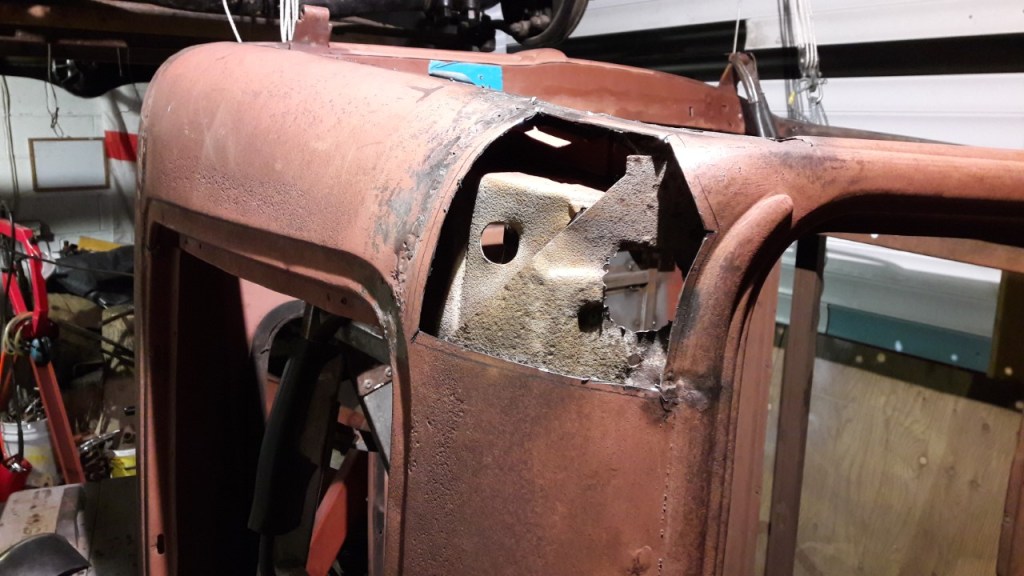
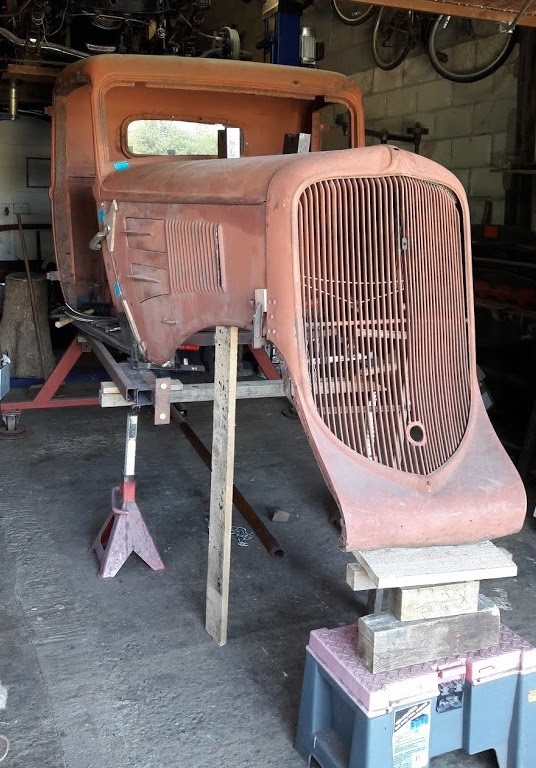
Extensive new metal was needed in the Cab, most of the lower belt line was either toast or badly knocked about. Had a local sheet metal company to CNC bend the profile in 48” lengths which turned out perfect. Some details were more challenging than others this bottom corner was a pig. The left corner was saved. Was hoping not to have to insert the large repair patch but the metal was too thin. The A & B pillars were sound so next was the heads of the door openings, in places these were nonexistence.


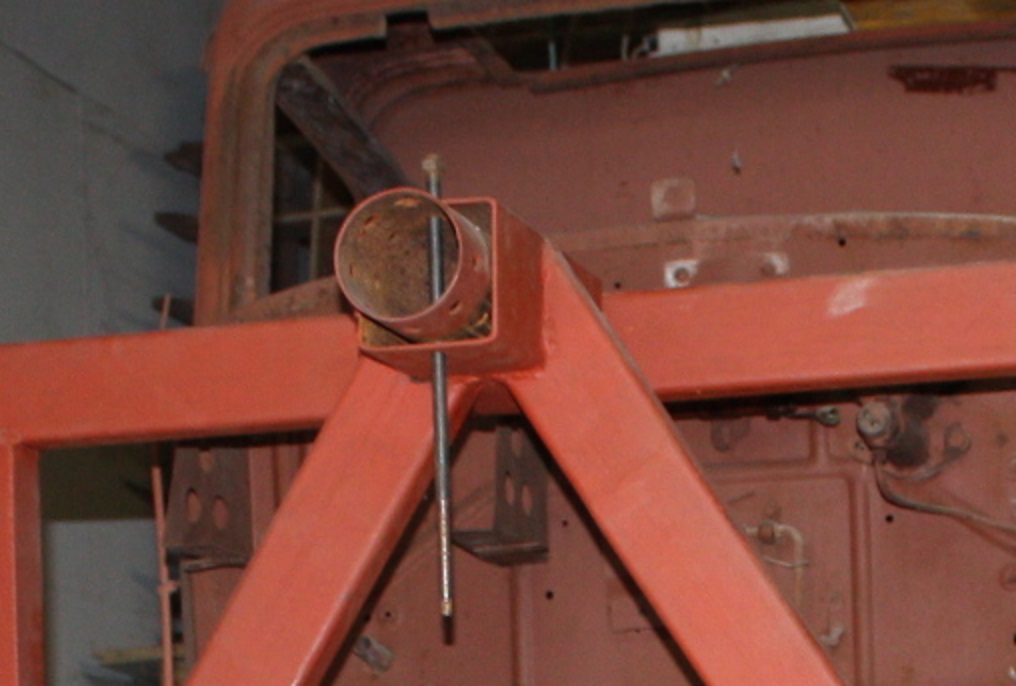
Without the turnover jig this would have been a no no, the cradle of the jig is a rectangular frame welded solid to prevent any distortion occurring during the many hrs of work. Casters are bolted to the bottom of the jig so that its mobile, the axis of the frame needs to be central about the body weight, I used a piece of 3” ø tube revolving in a 3 ½” sq tube with a series of holes so that I could tip the body in 22 1/2° increments.

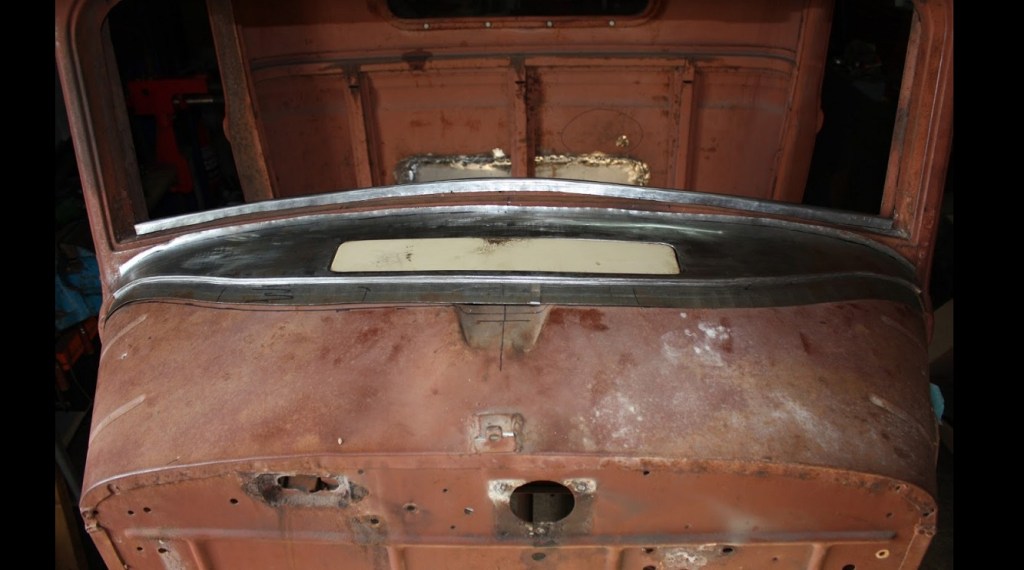
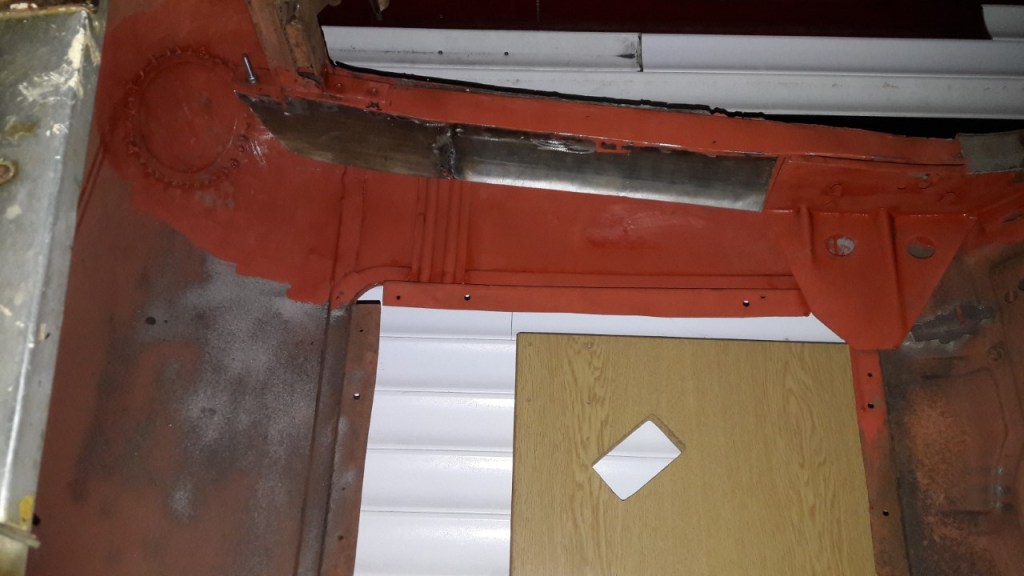
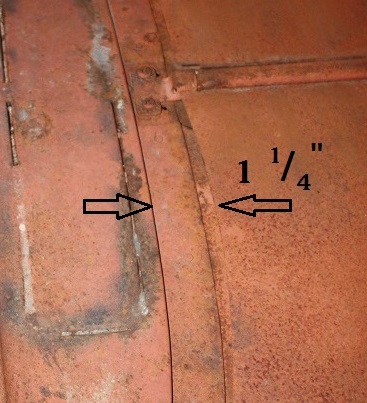
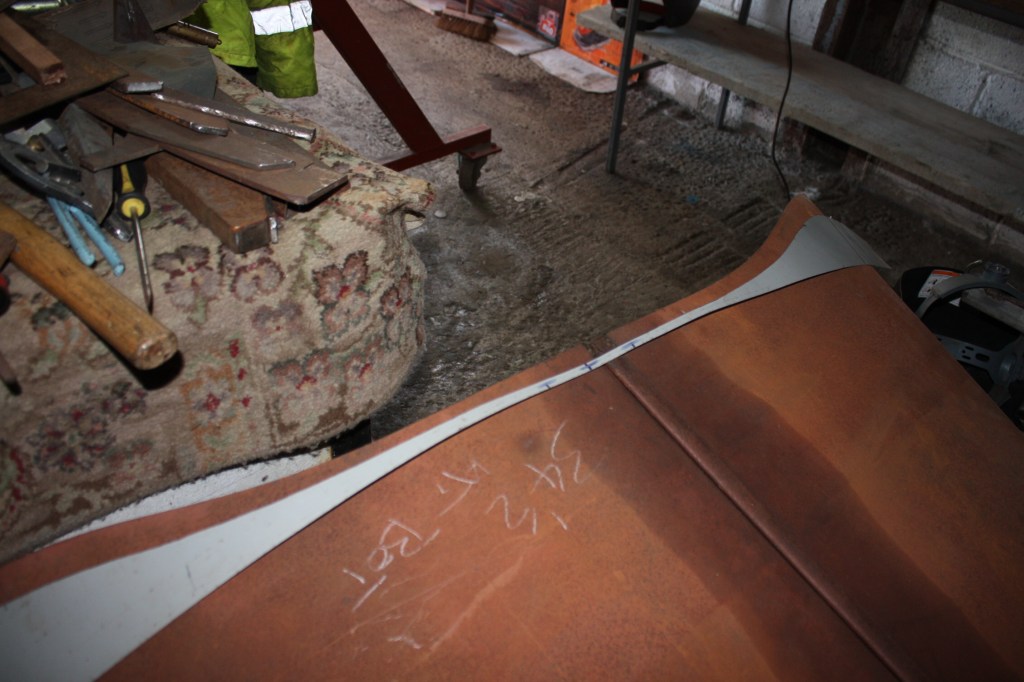
Next to move on to the big mods to the cowl, why I know this was never made in the Production Plant is that a Dodge Truck Cab has a different shut line at the top of the Hood to a PE by approximately 1 ¼” at the centre hinge. The image below is looking down on to the cowl vent to the left with the gap of 1 ¼” to the start o the hood. So what to do, add extra material to the top of the hood to close the gap would possibly be the easiest thing to do but then t wouldn’t be a PE Hood Top: Option 2 would be to add extra metal to the Cowl but that would make the Cowl Vent opening look to far away from the Hood: Option 3, to cut a large section out of the Cowl Top and replace it with a new Panel, to me that was the only option.
This made thing somewhat difficult due to the front A frame of the turn over jig being in the way, if I had more space putting the cab on the chassis would have been the best option but I’m used to working in a shoe box. The decision was made to put axle stands under the front of the cab and remove the A frame making sure nothing was knocked or moved. The Hood Doors marry to the sides of the Cowl perfectly so am half way there, (strange thing is this question keeps coming back, what other models in the Chrysler range made this change). First to make a template of the new panel, always work on the large size as it’s easier to cut off than it is to weld on. This is about as far as I can go without a big move around in my small workshop.


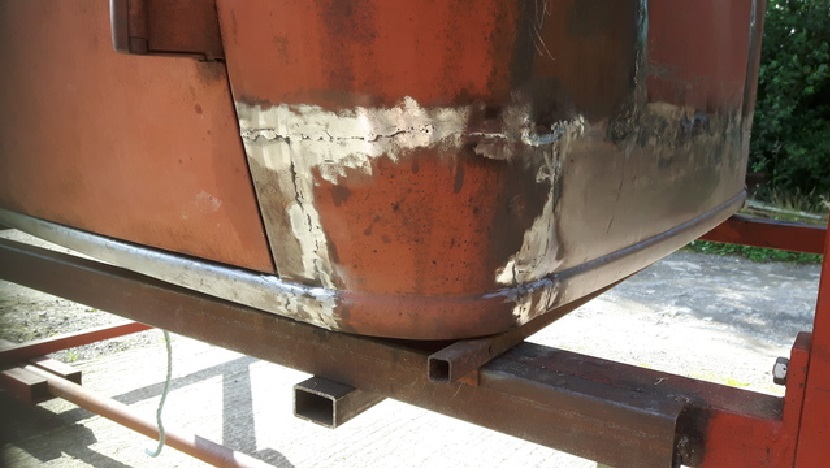
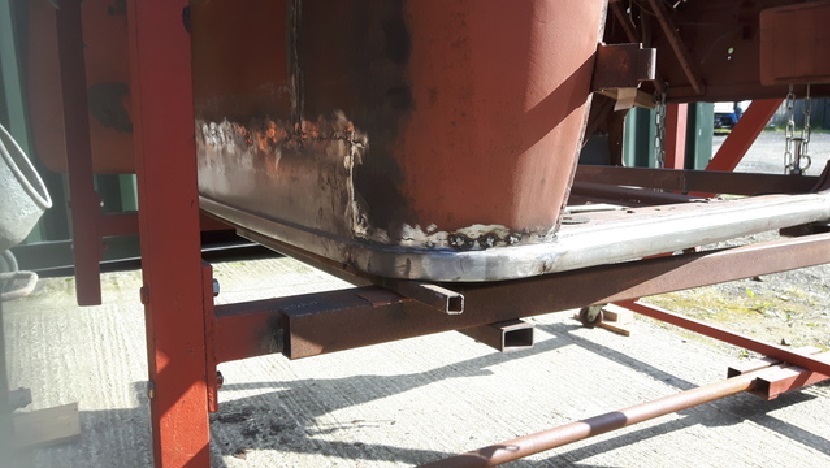
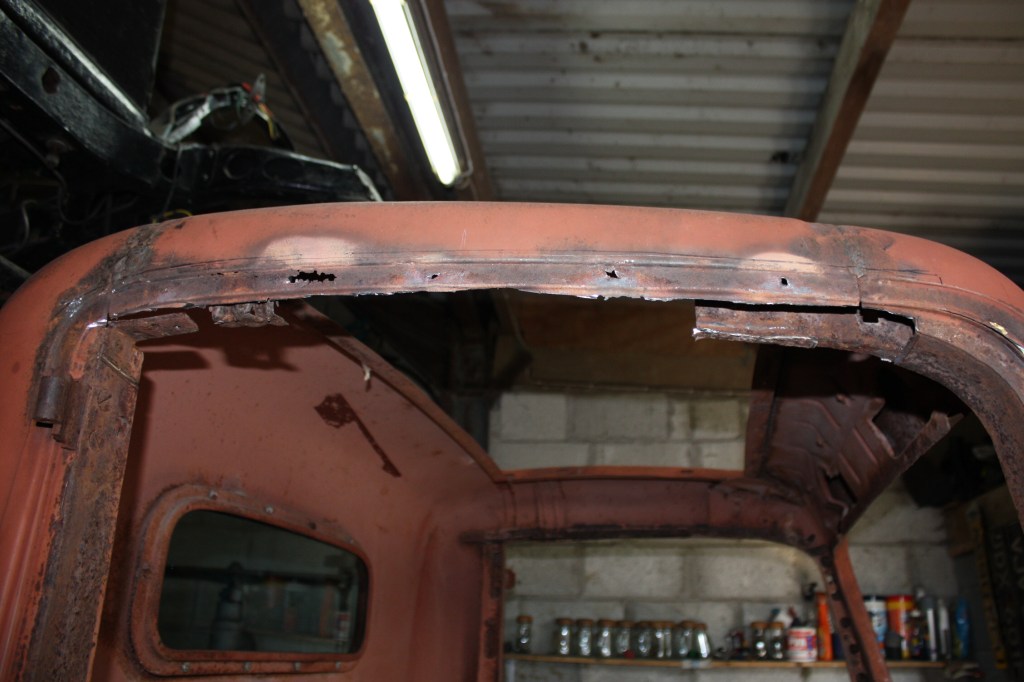
Images below showing the size of the cut out, the underside of the roughed-out panel, views of each side of the shut line and the panel with the cowl vent opening. Part 3 we will have the cab on the chassis to make sure the alignment is correct.